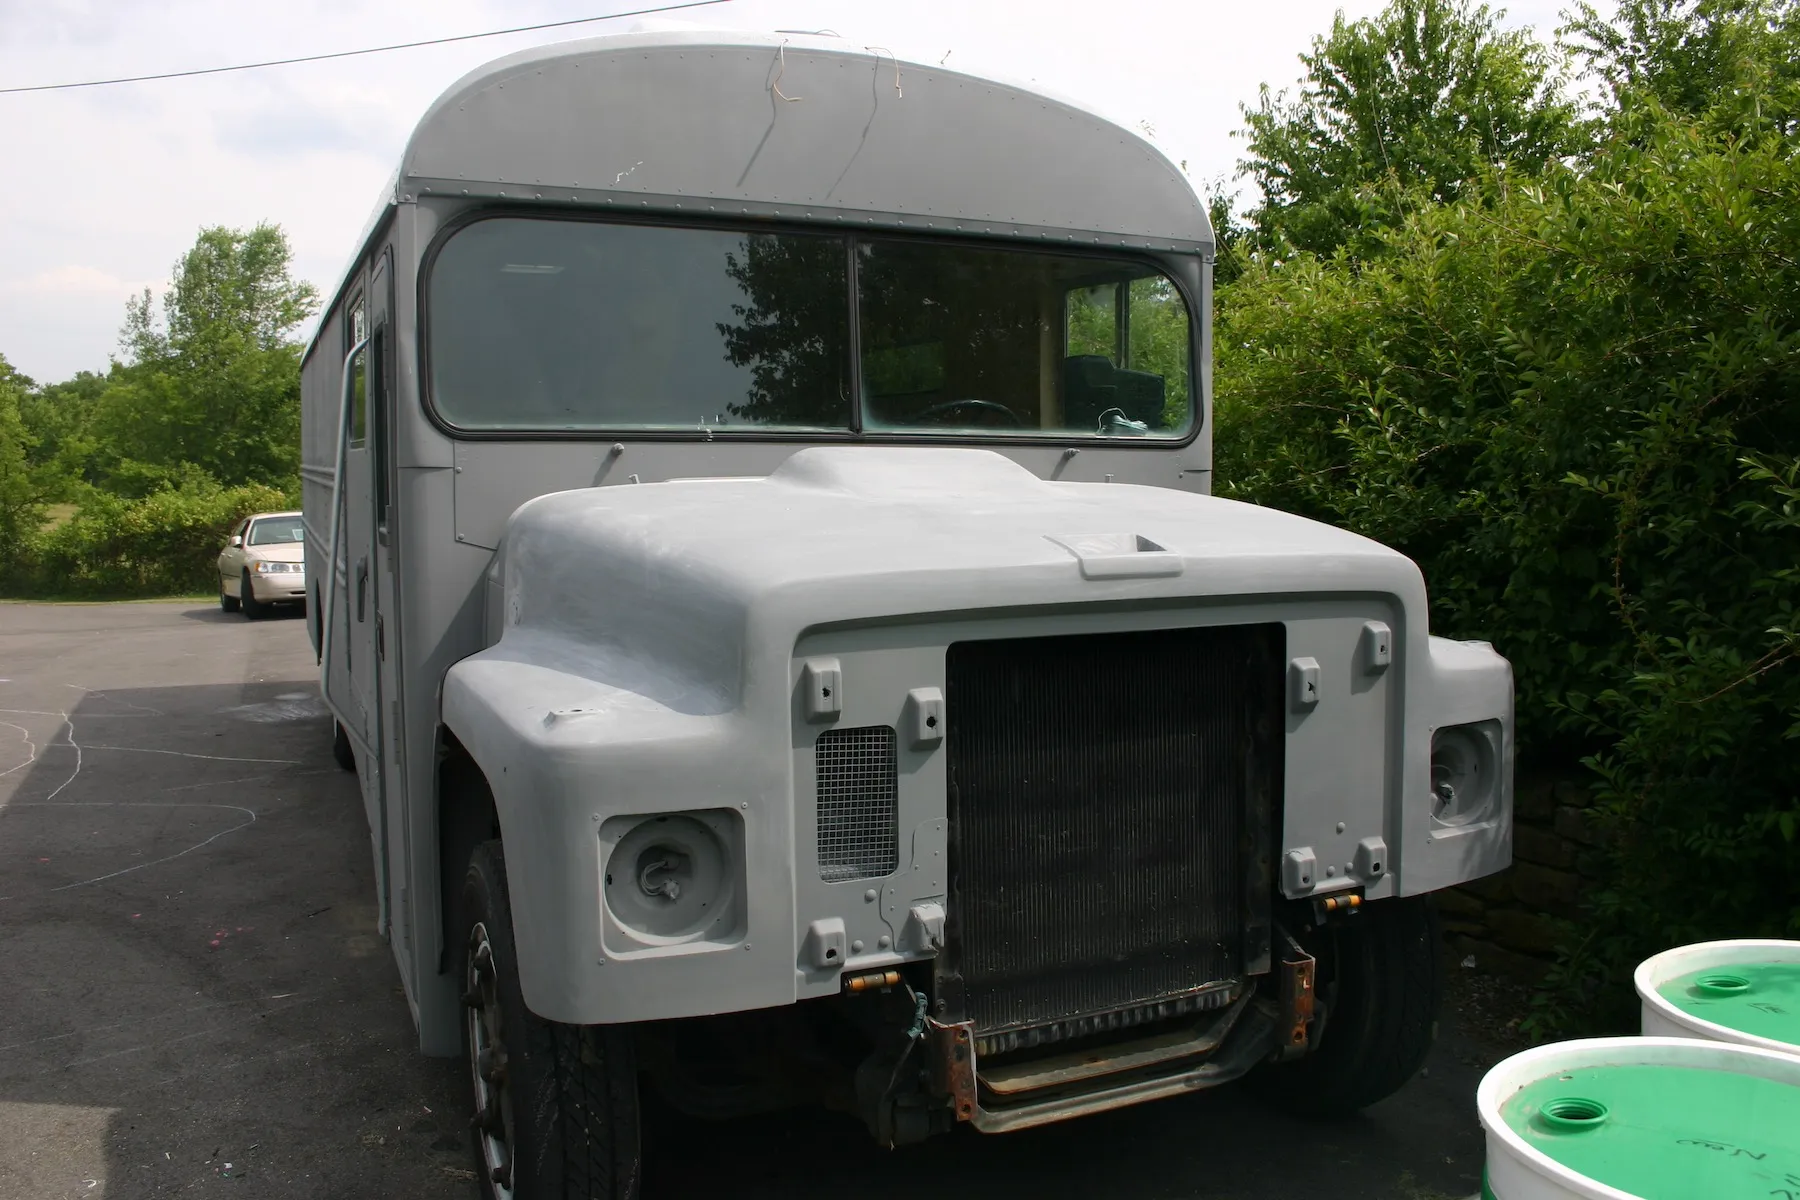
The Outside.
Once I removed all of the junk and had an empty interior and blank, rusty exterior I felt like I could start the build up. However, I first had to contend with a LOT of exterior rust. Every single one of the 57,000 rivets was rusty. So, I did what any totally insane person would do and purchased a $12 siphon feed sandblaster wand for my wimpy air compressor. I spent the next 3 weeks sandblasting the exterior with $2-a-bag play sand from the Home Depot. I also did a lot of grinding, sanding and priming the exterior. Woo hoo!

I knew whatever happened, I was going to get rid of all of that #%@$&*% yellow if it was the last thing I did. That yellow will wear on you after a while.


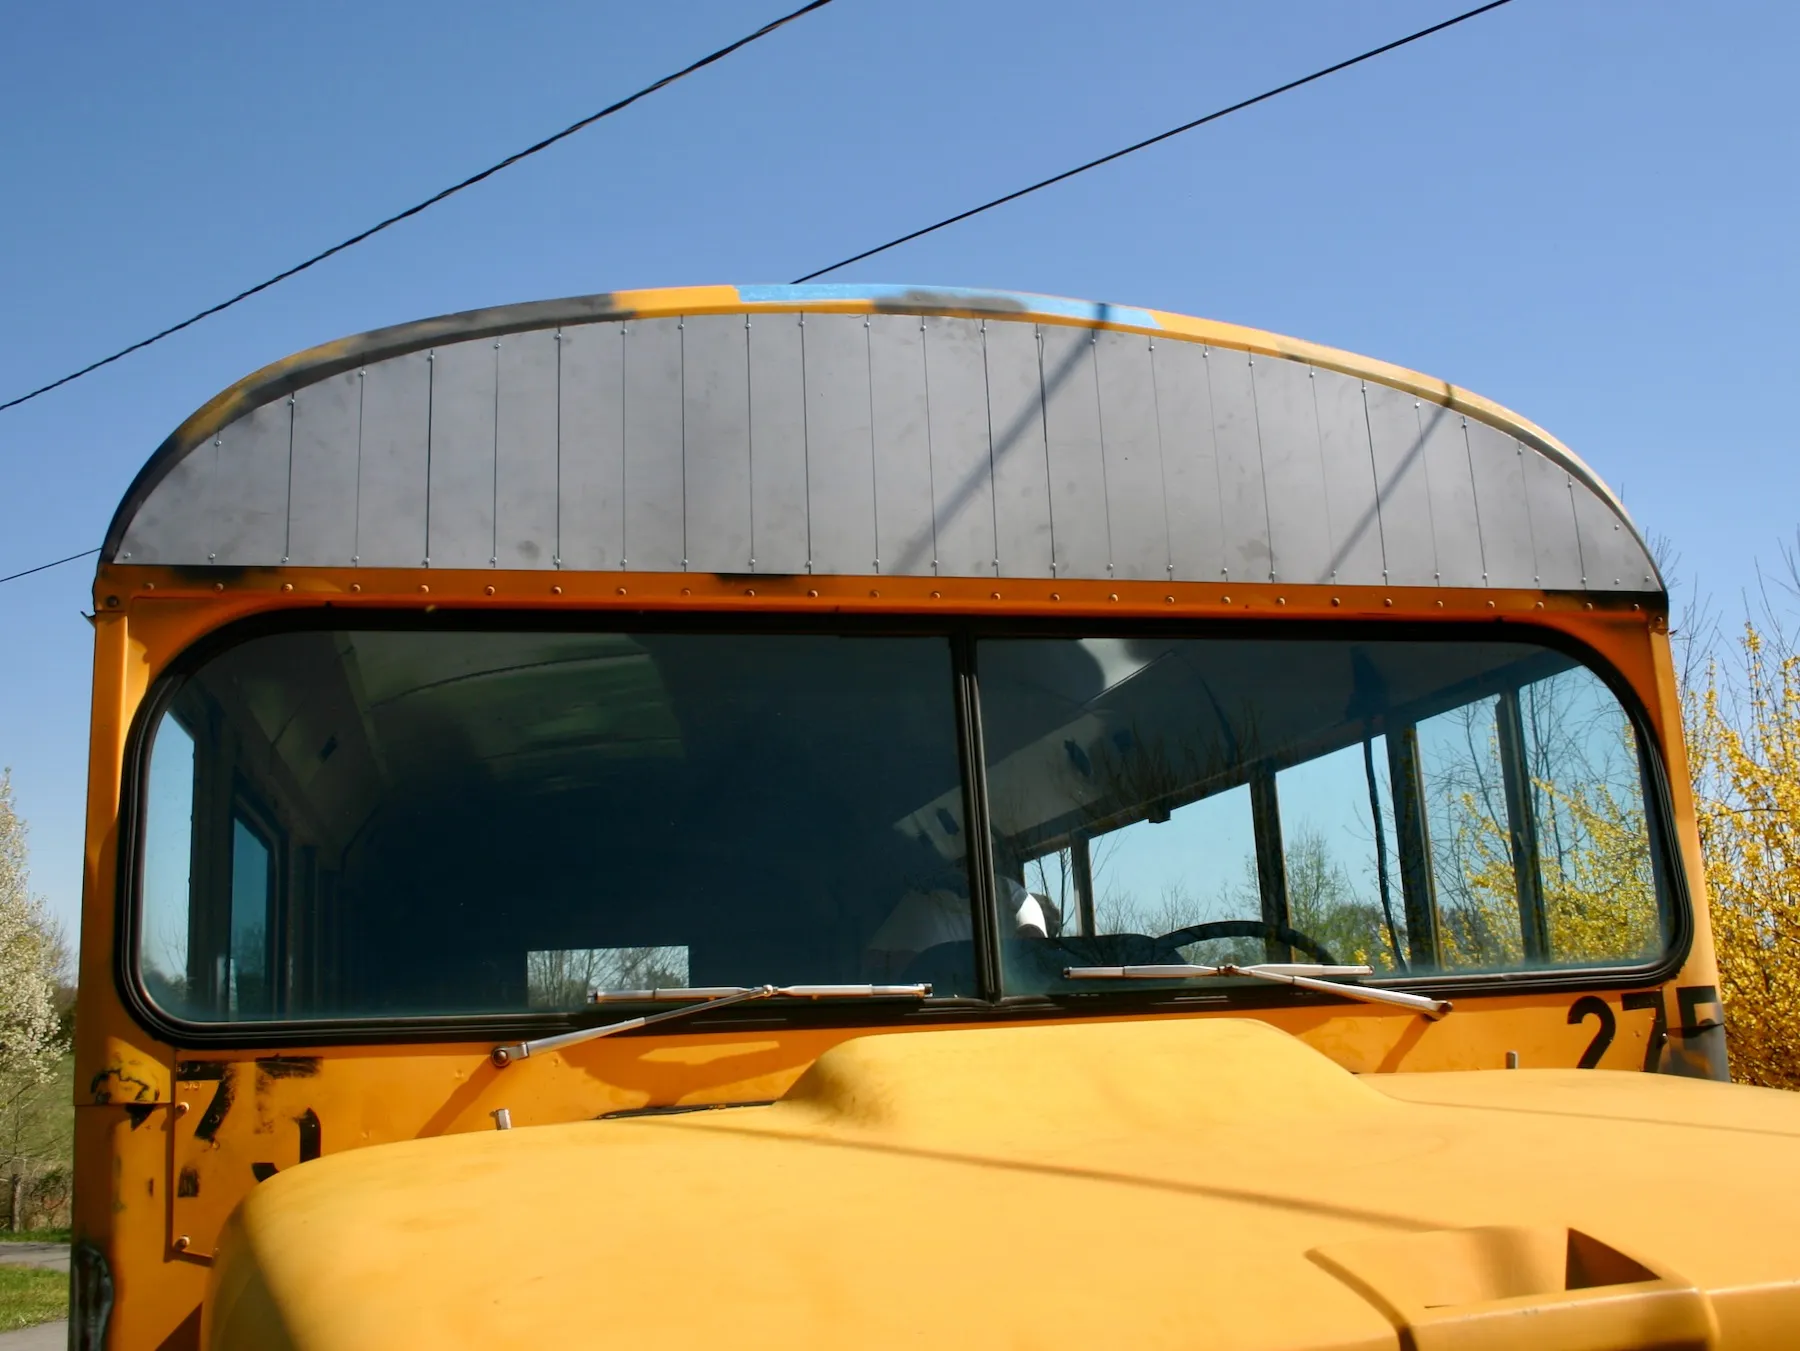
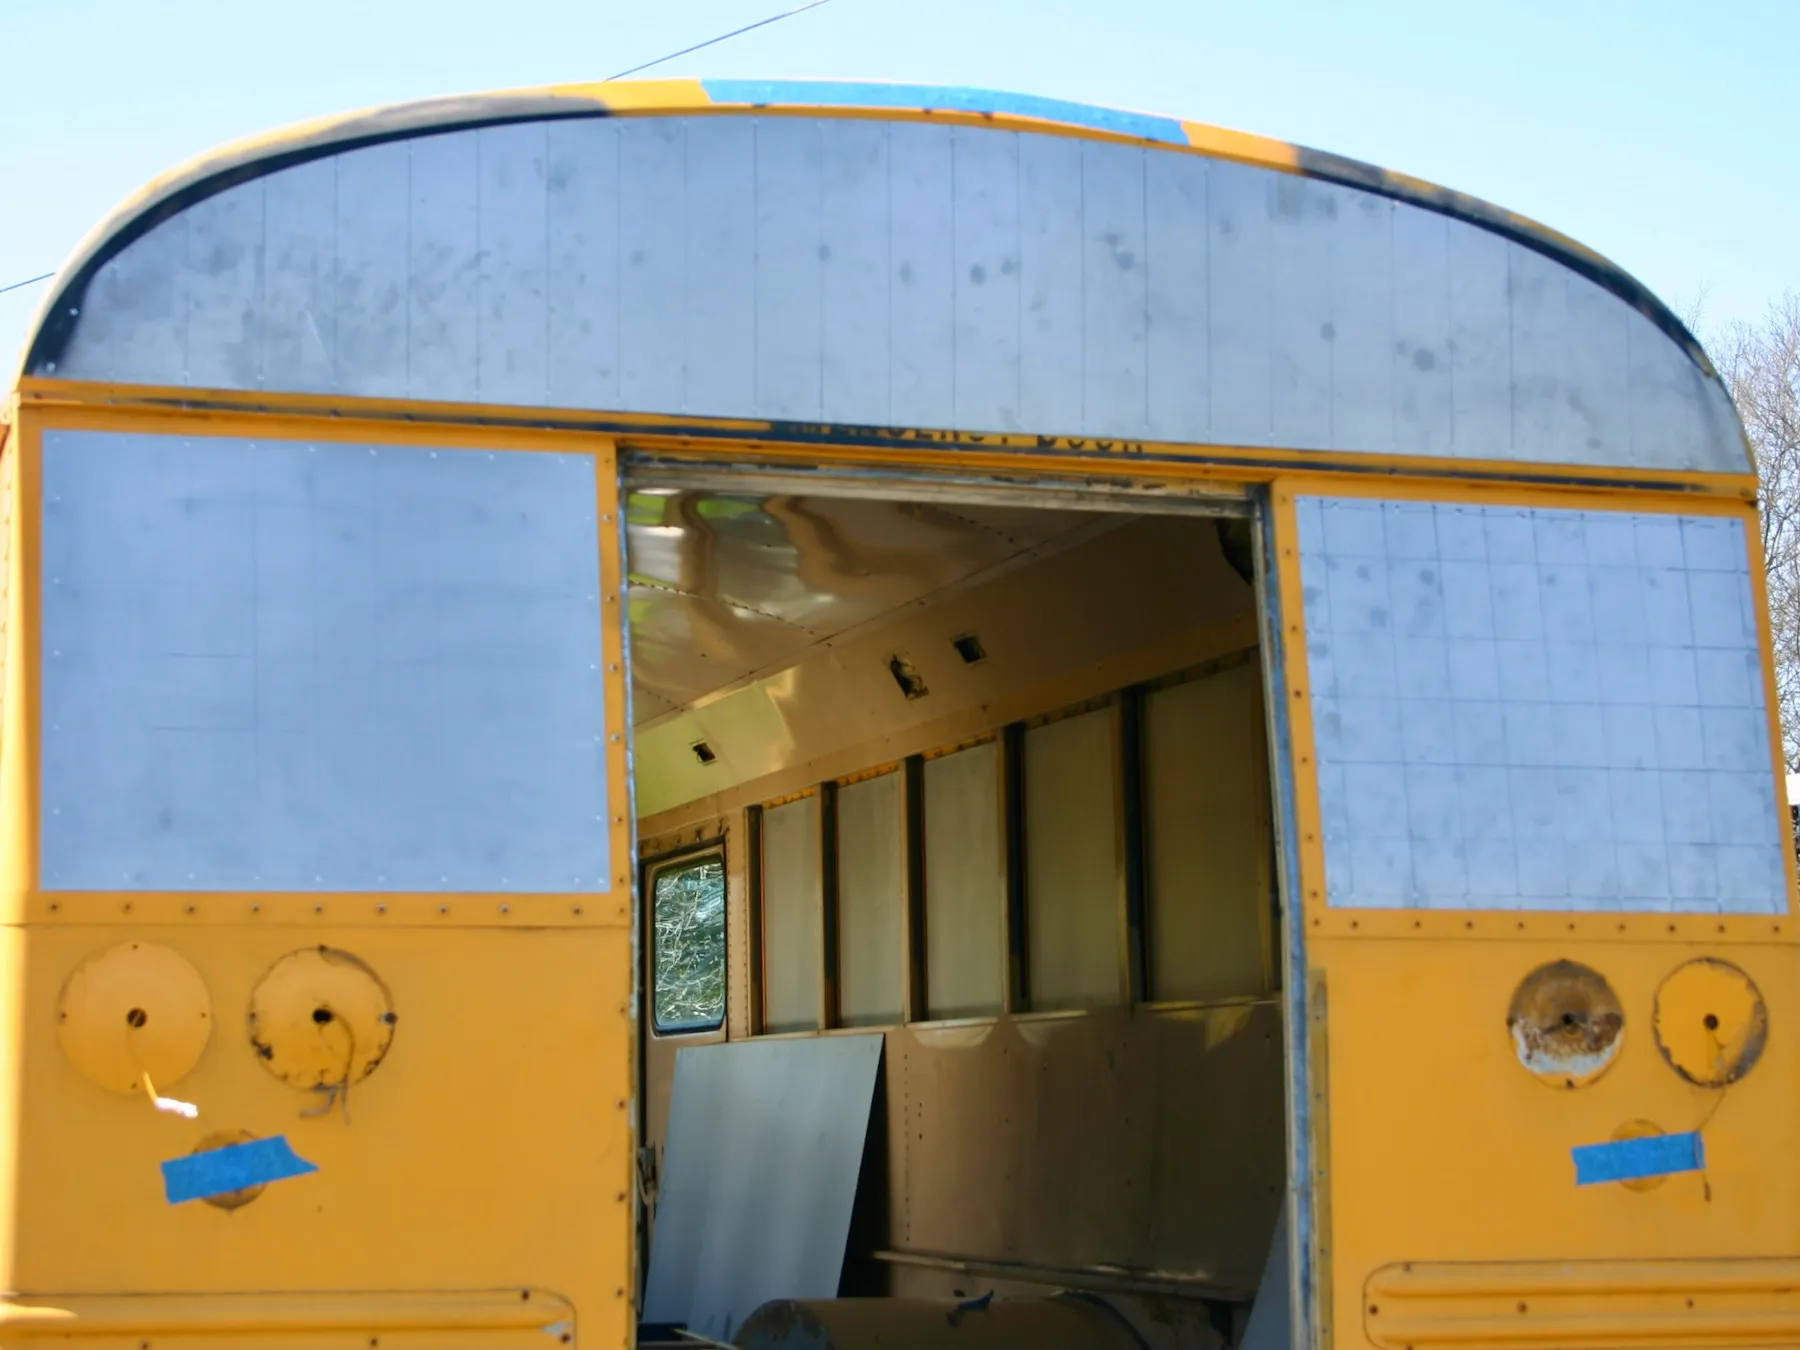
Starting the sheet metal skin. I got this stuff called "paint prep" from a sheet metal fabrication company near my house. Apparently it is ready to paint without having to strip all of the oil that is normally on sheet metal. One rivet every three inches, please. My dad was down helping me out with the project and he told me I was over engineering it. Ironically, he is an engineer.

No more bus lights on the front. Nice and smooth. I like it. I put the lines on with a Sharpie to make sure I got the rivets installed uniformly.

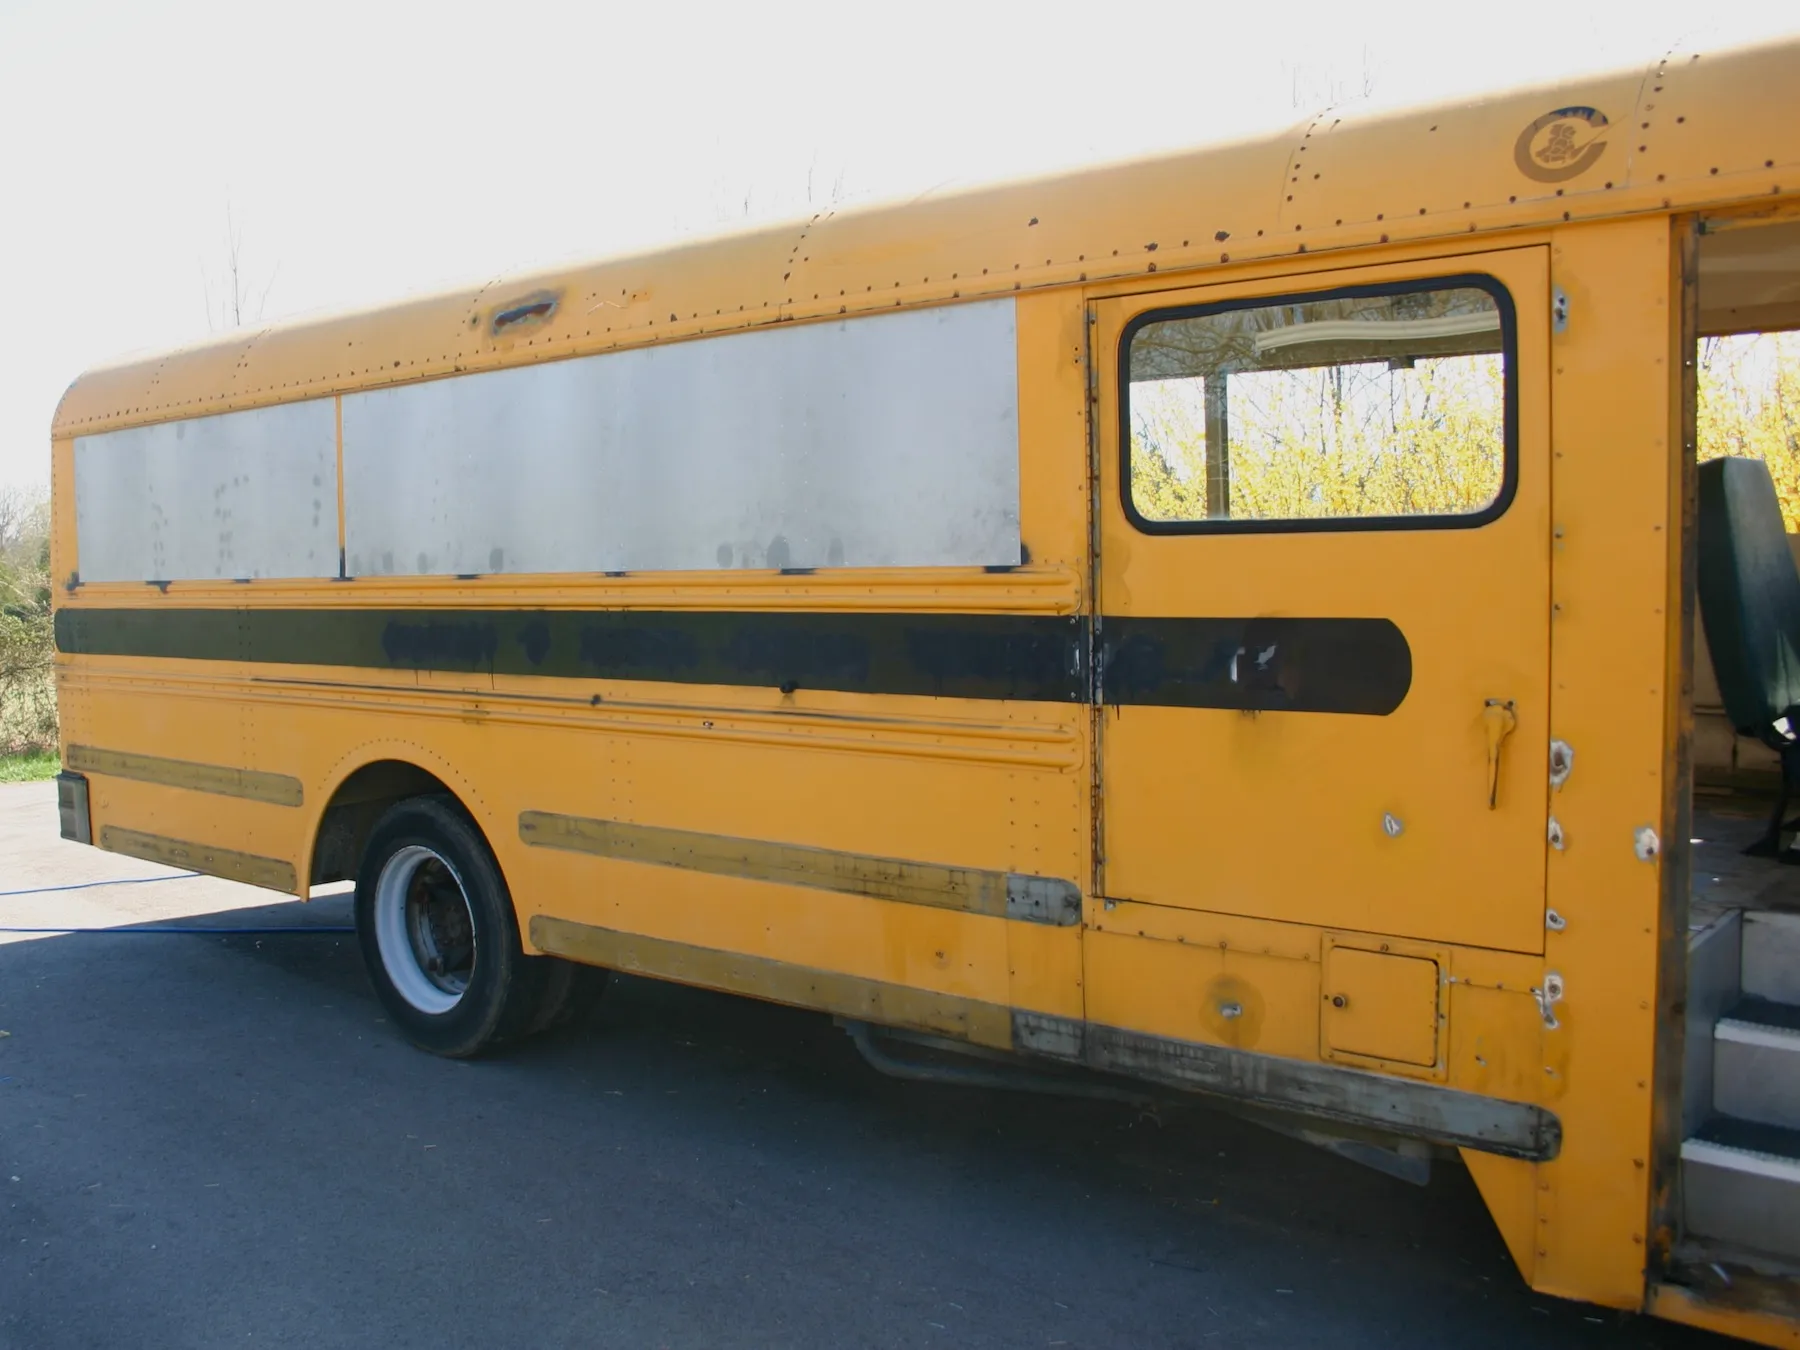
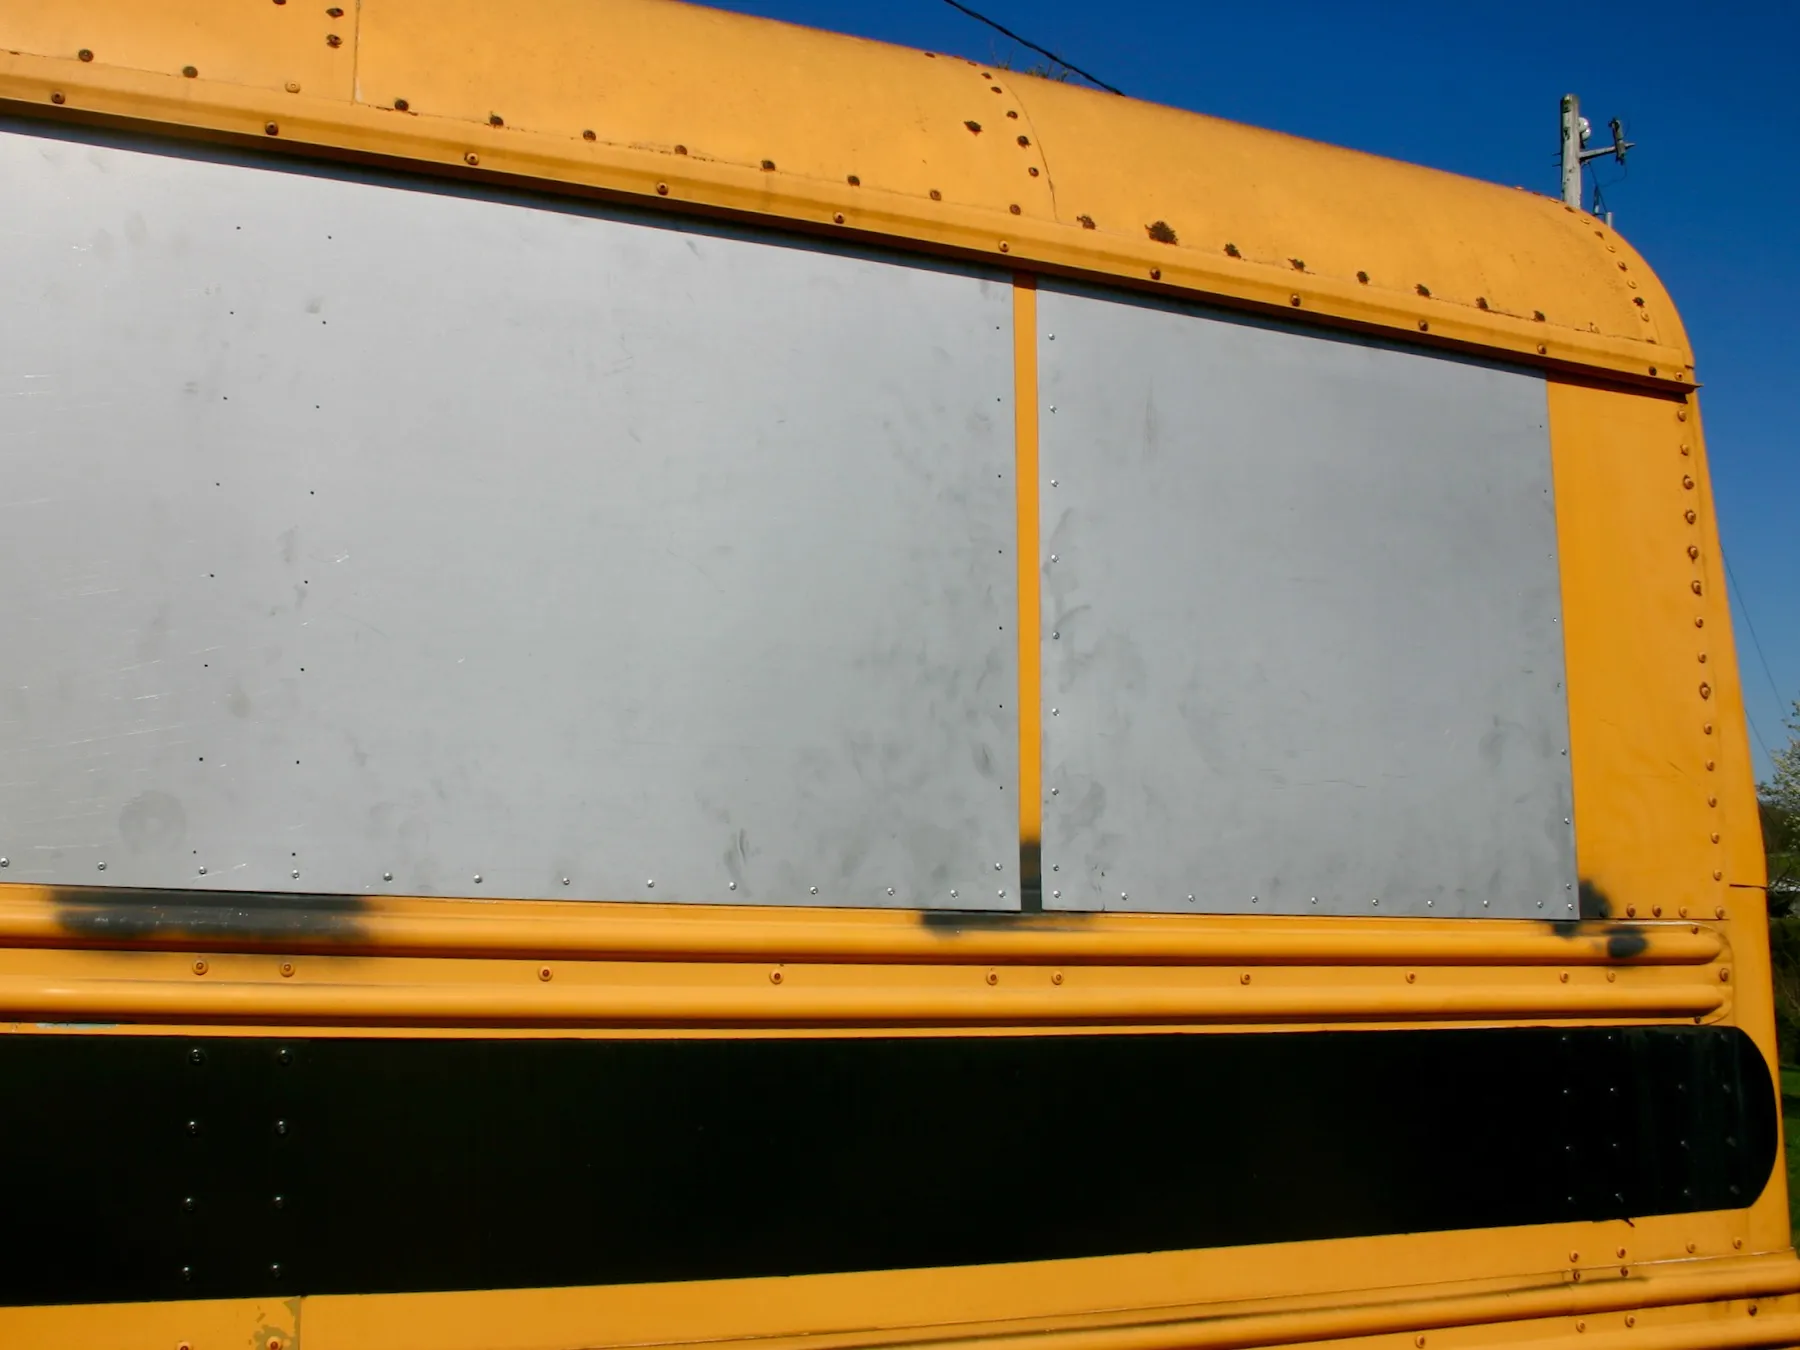
Those bus windows were leaky and ugly. They had to go!

More sheet metal over the windows.

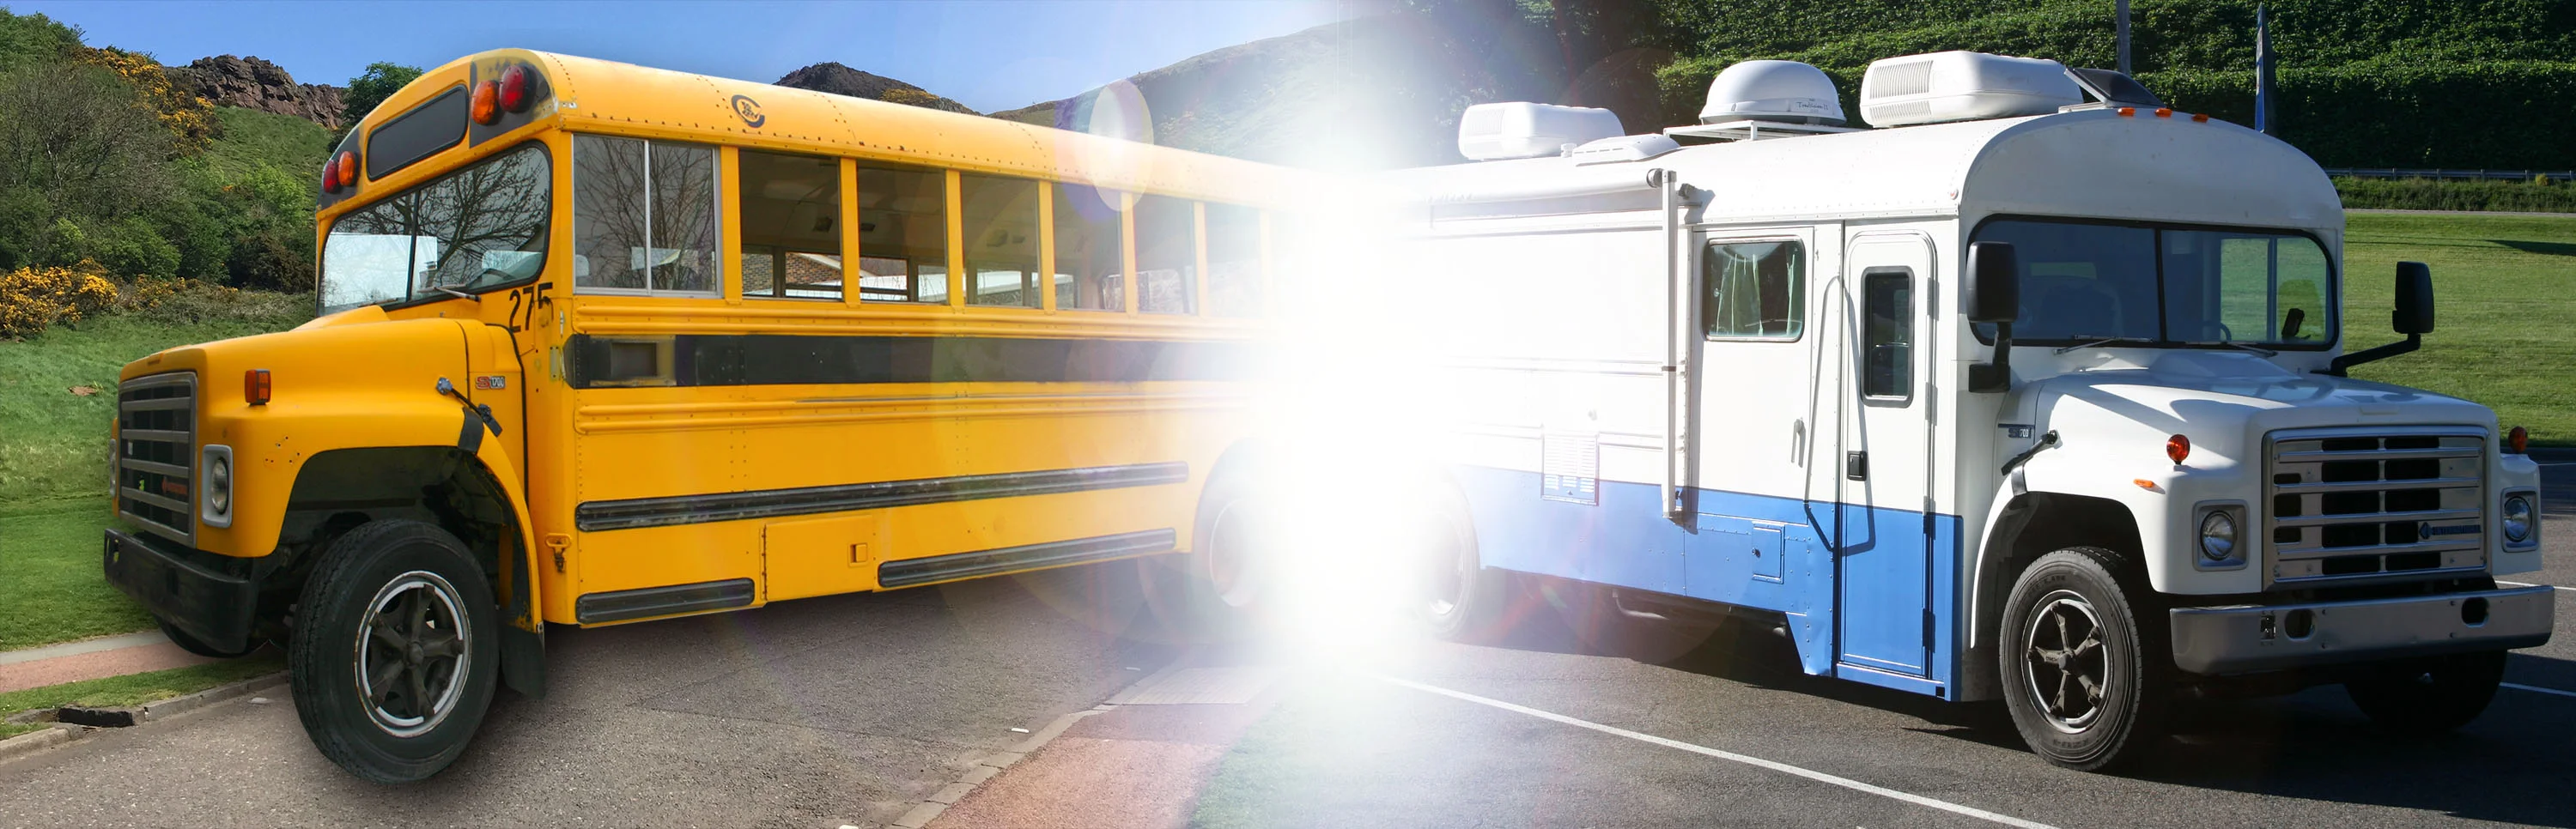
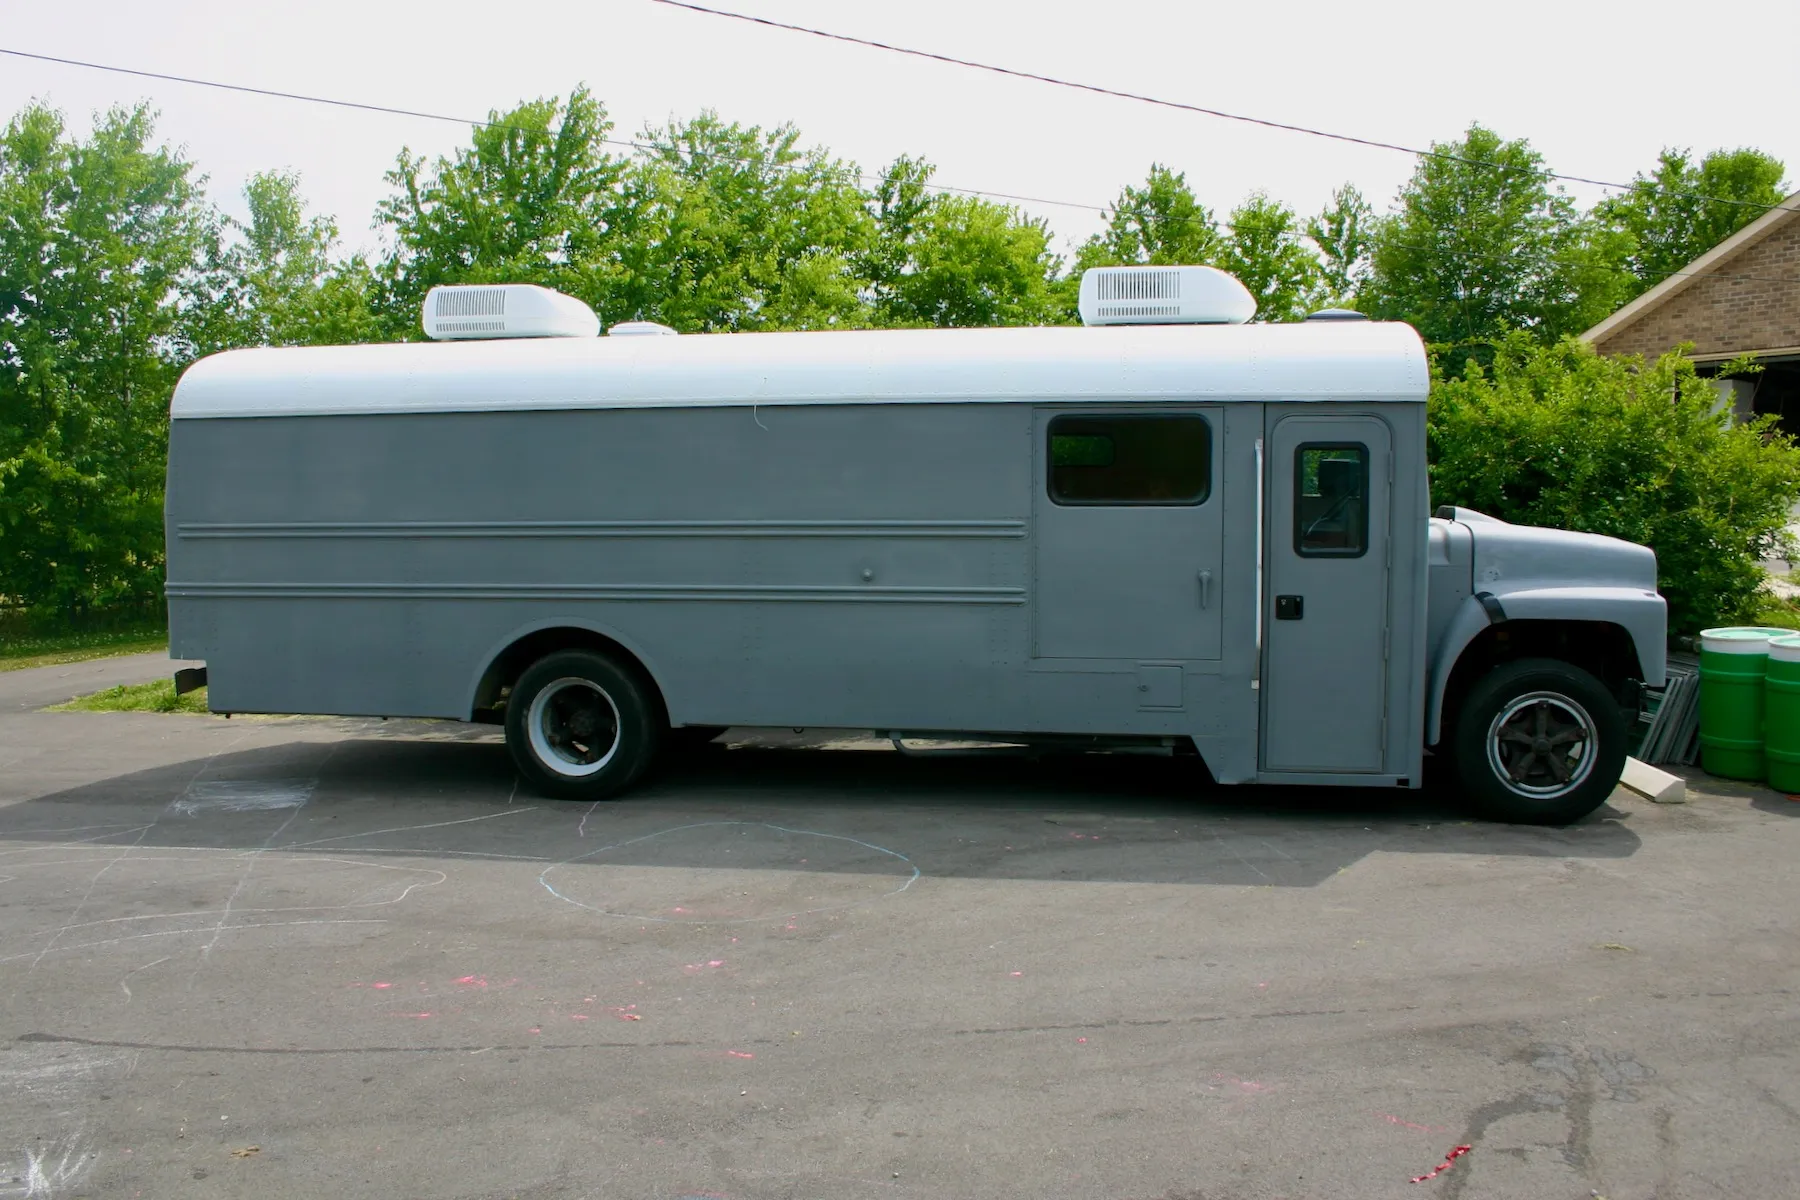
Skip ahead after some sandblasting, prep, primer and BusKote roof paint and, Viola! Something that is starting to look a little bit less like a cheese wagon. NO MORE YELLOW! Note the twin 15000 BTU heat pumps. These things are going to keep the climate controlled. I also installed two vents/skylights.

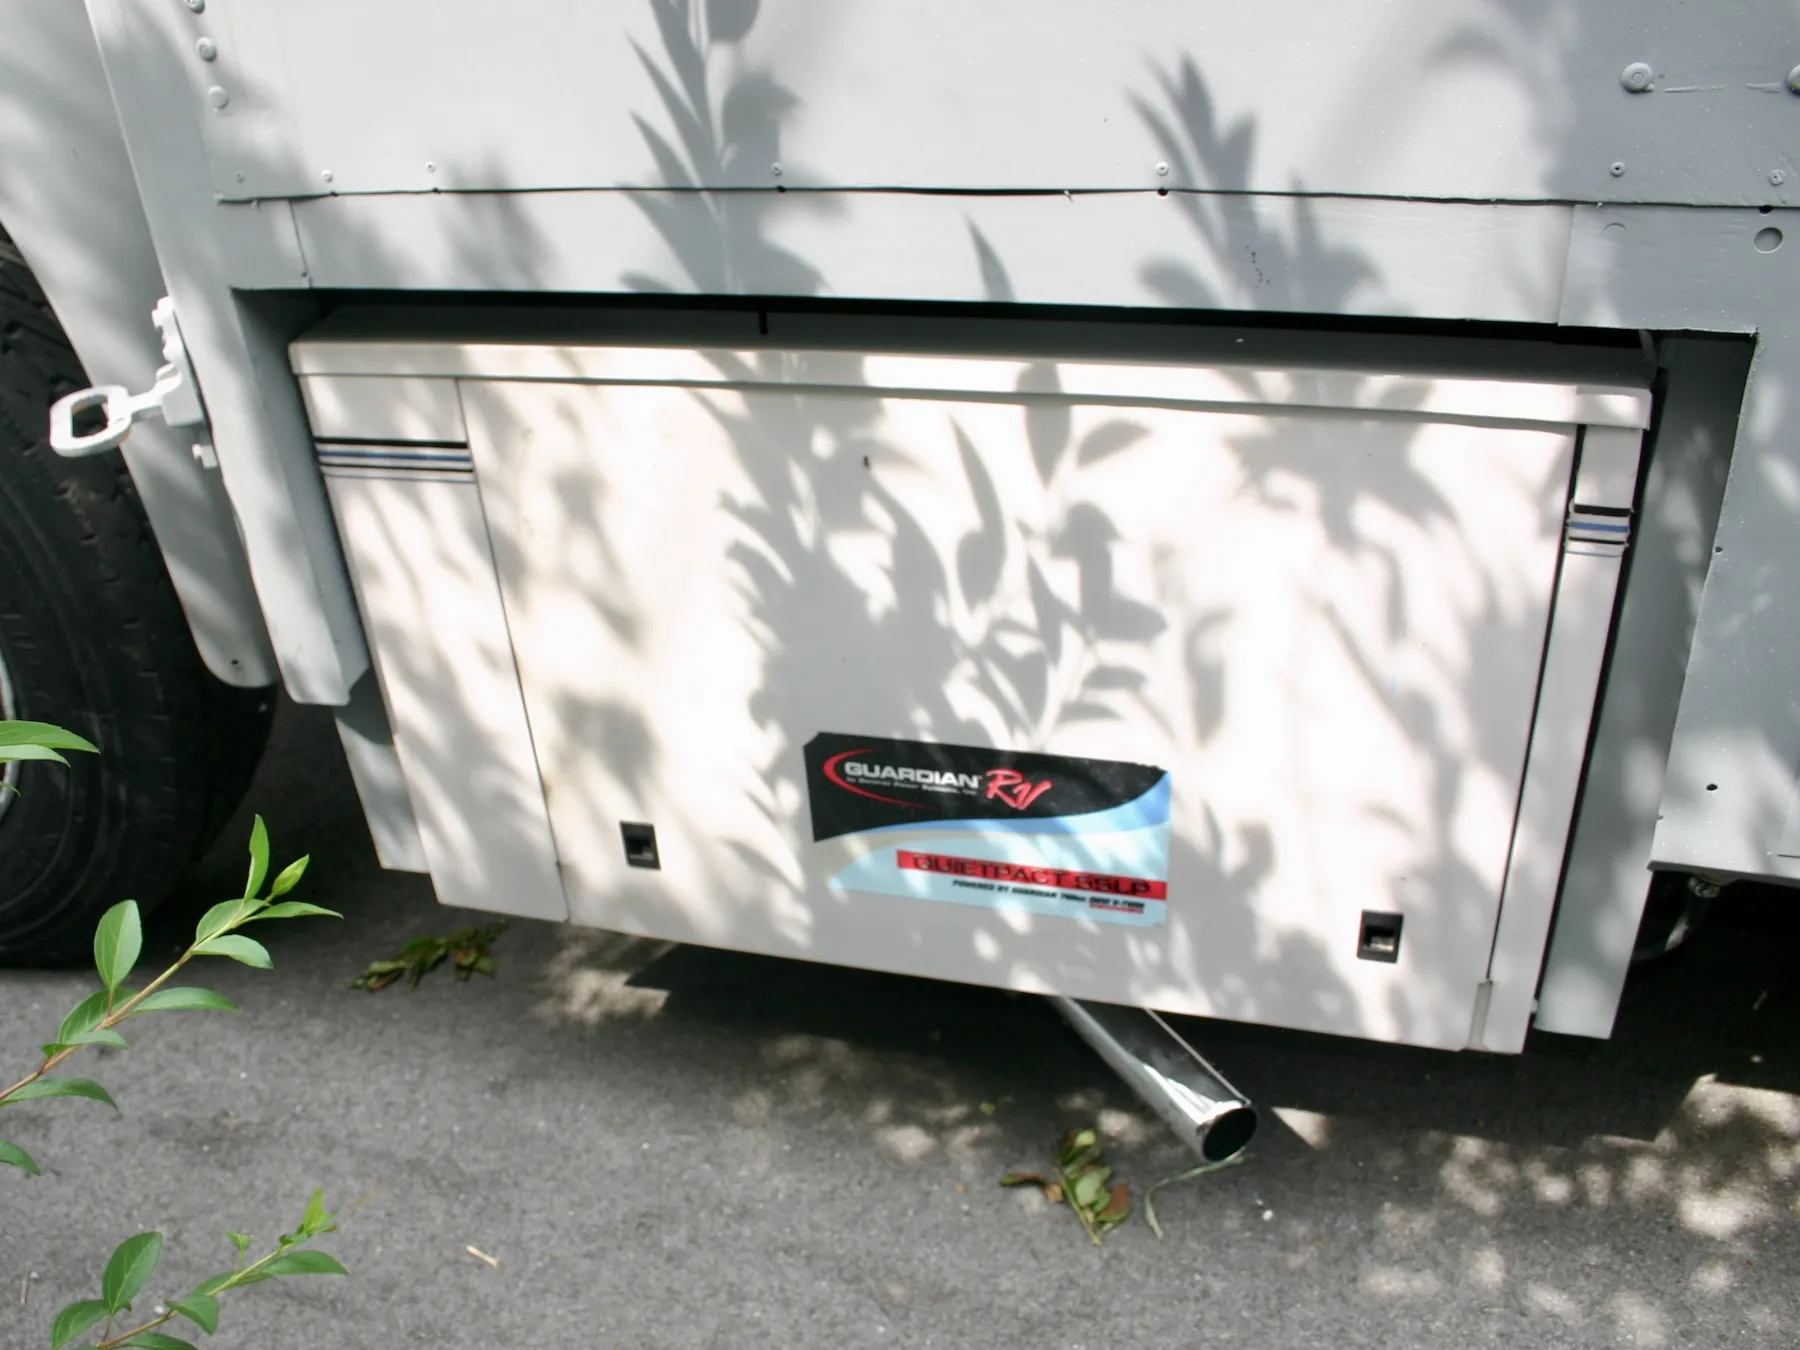
A Generac Guardian RV QuietPact 5000 gas powered generator. People kept telling me to get an Onan, but I like my arms and legs, so I found this Generac about 1/2 off list with only 10 hours on it. It is a great generator and it runs both AC units with no problem. I am running 50 amp electrical service in this bus. MORE POWER!

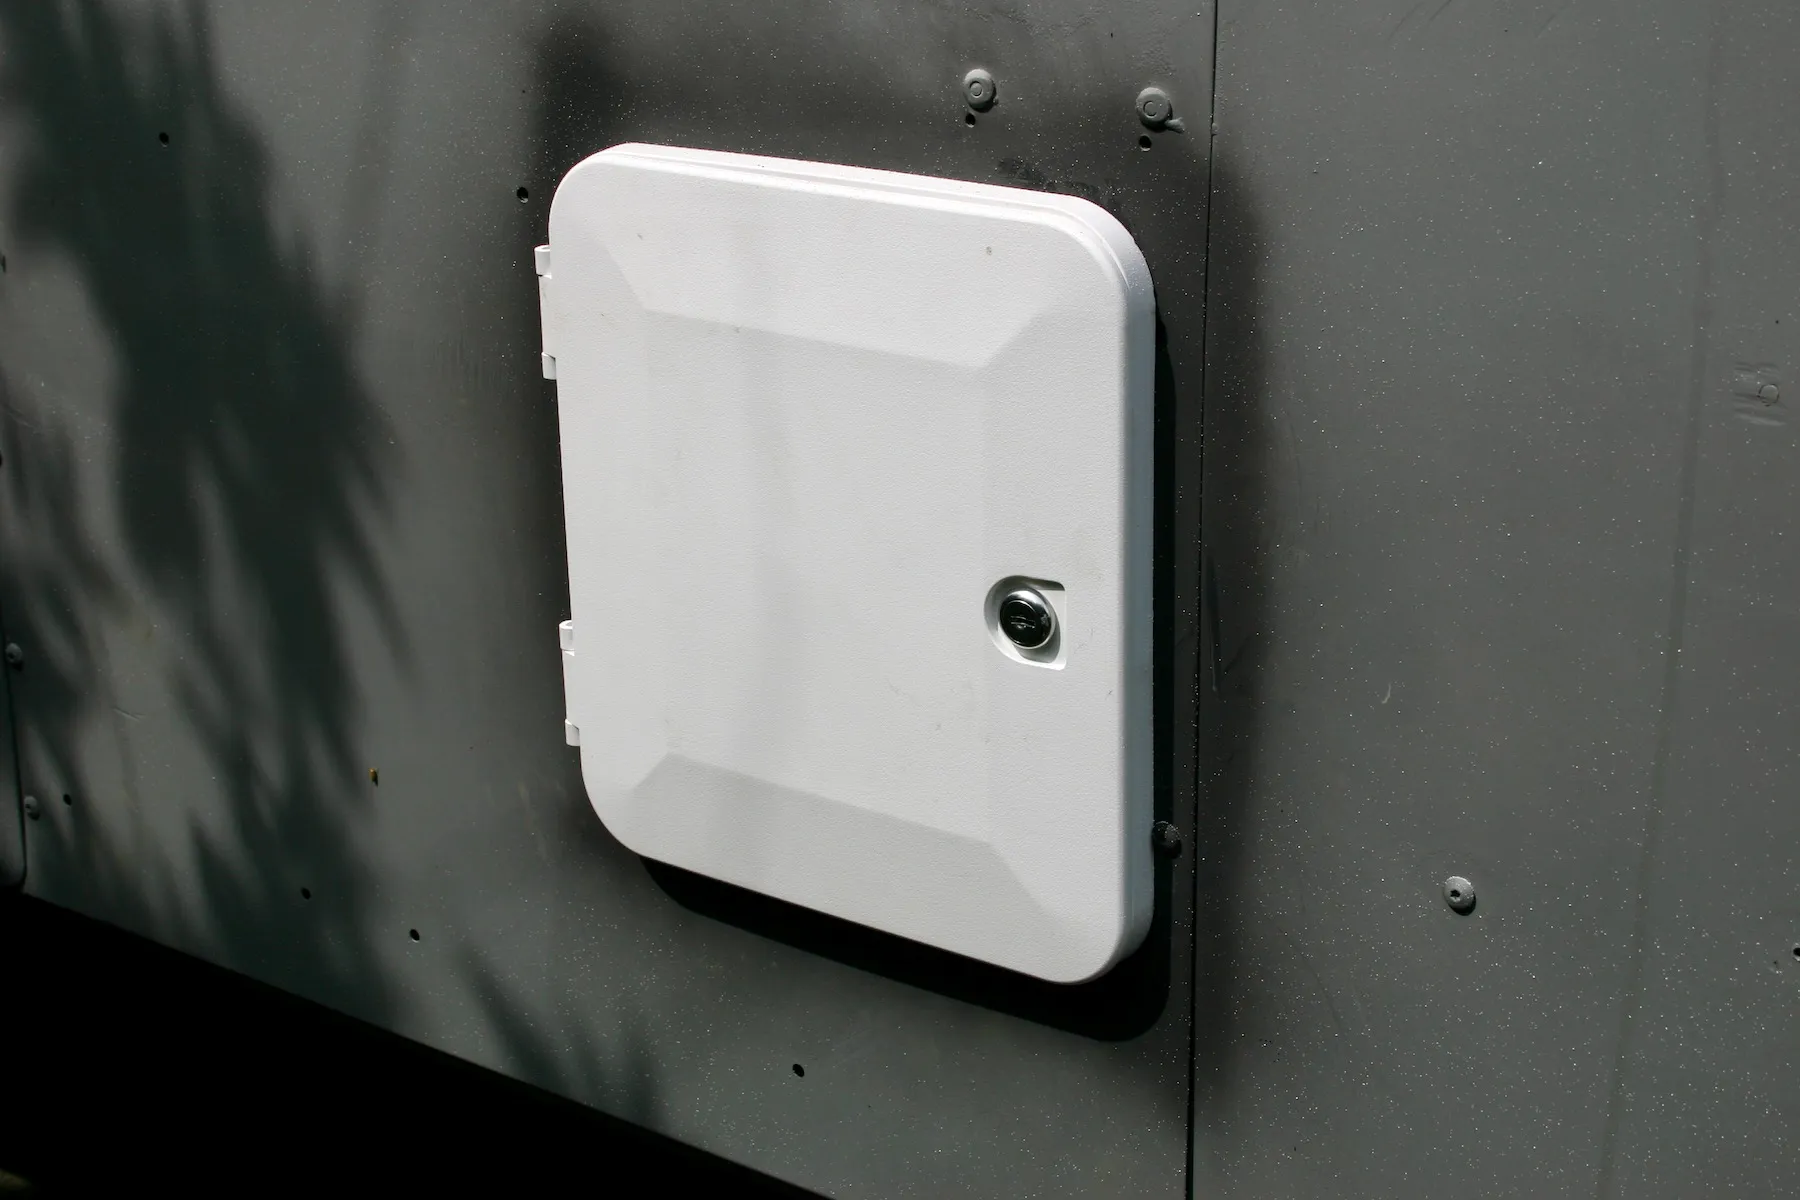
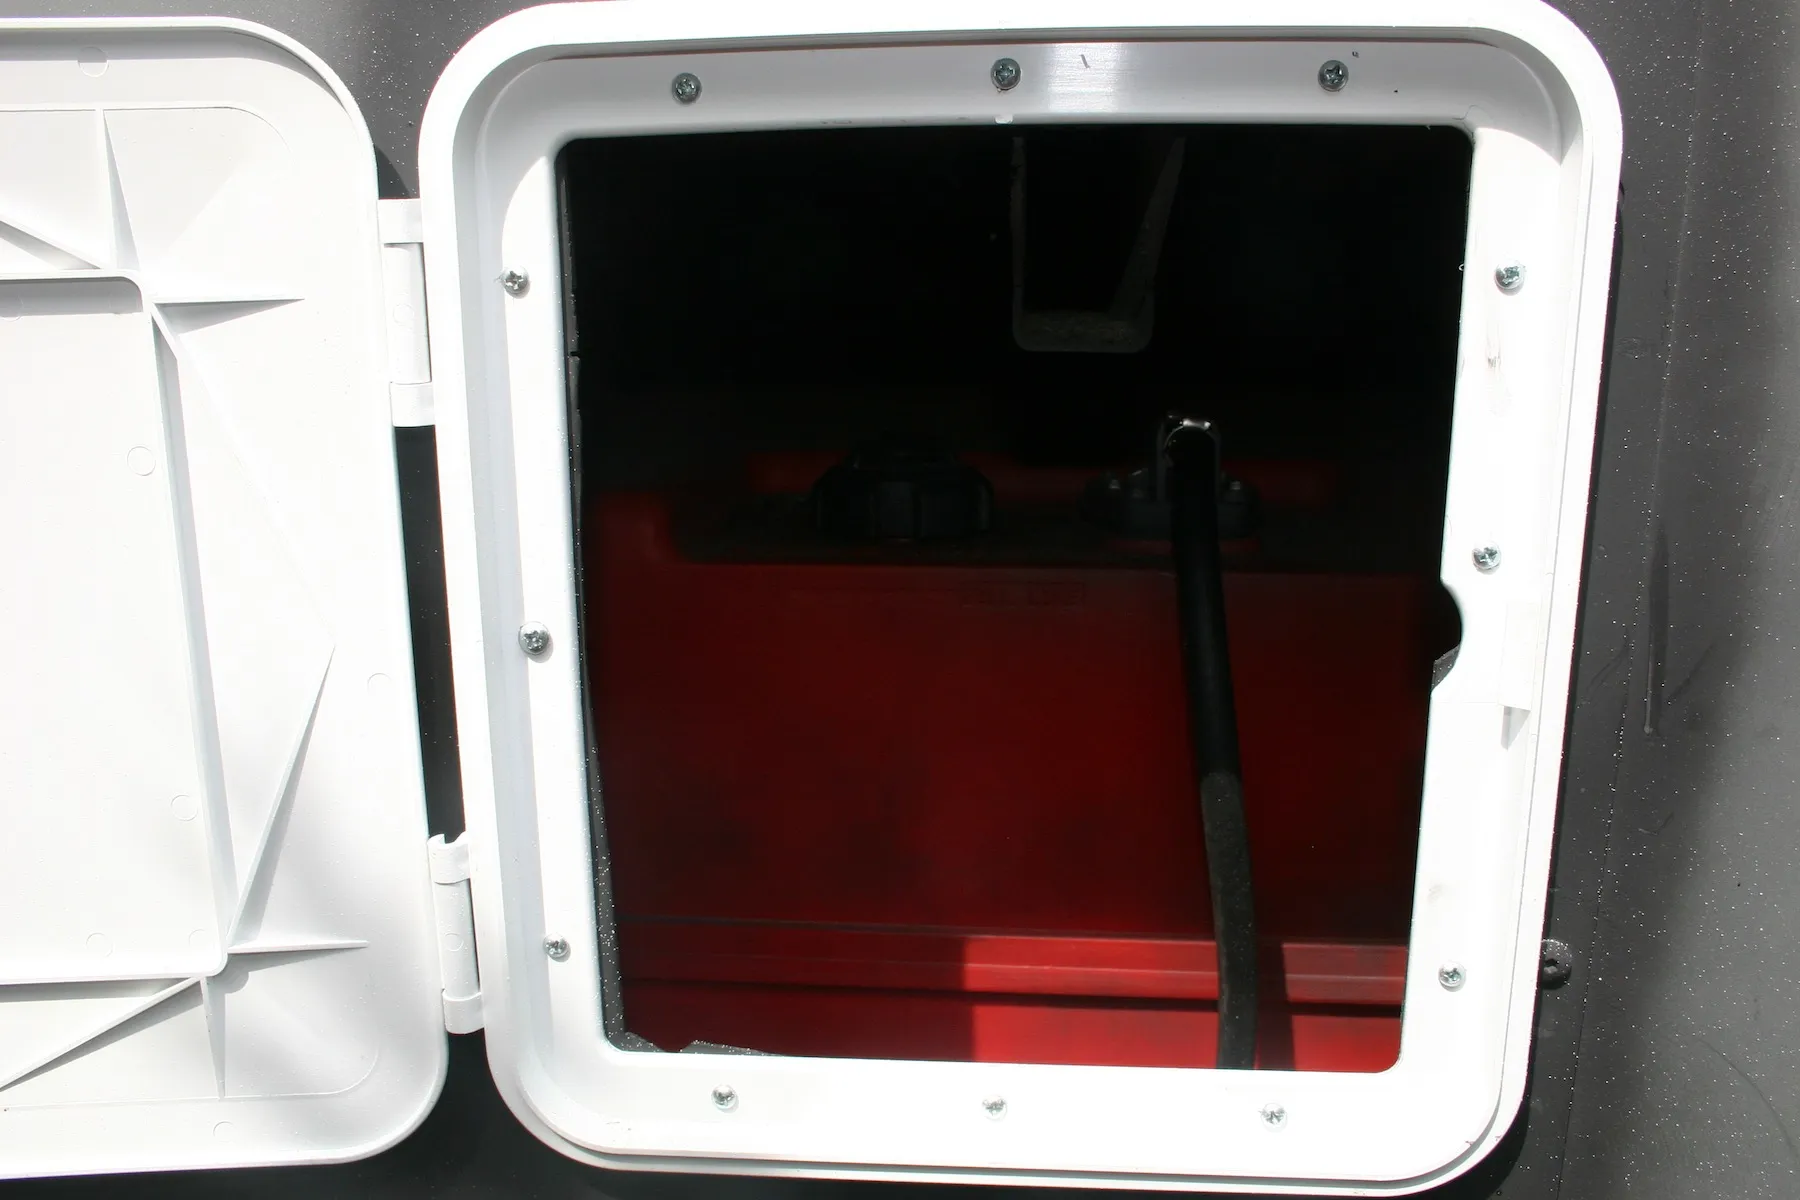
Since the bus is diesel powered and the generator is gas powered, I needed to add a gas tank for the generator. This is the door I got. It is huge, but you'll see why.

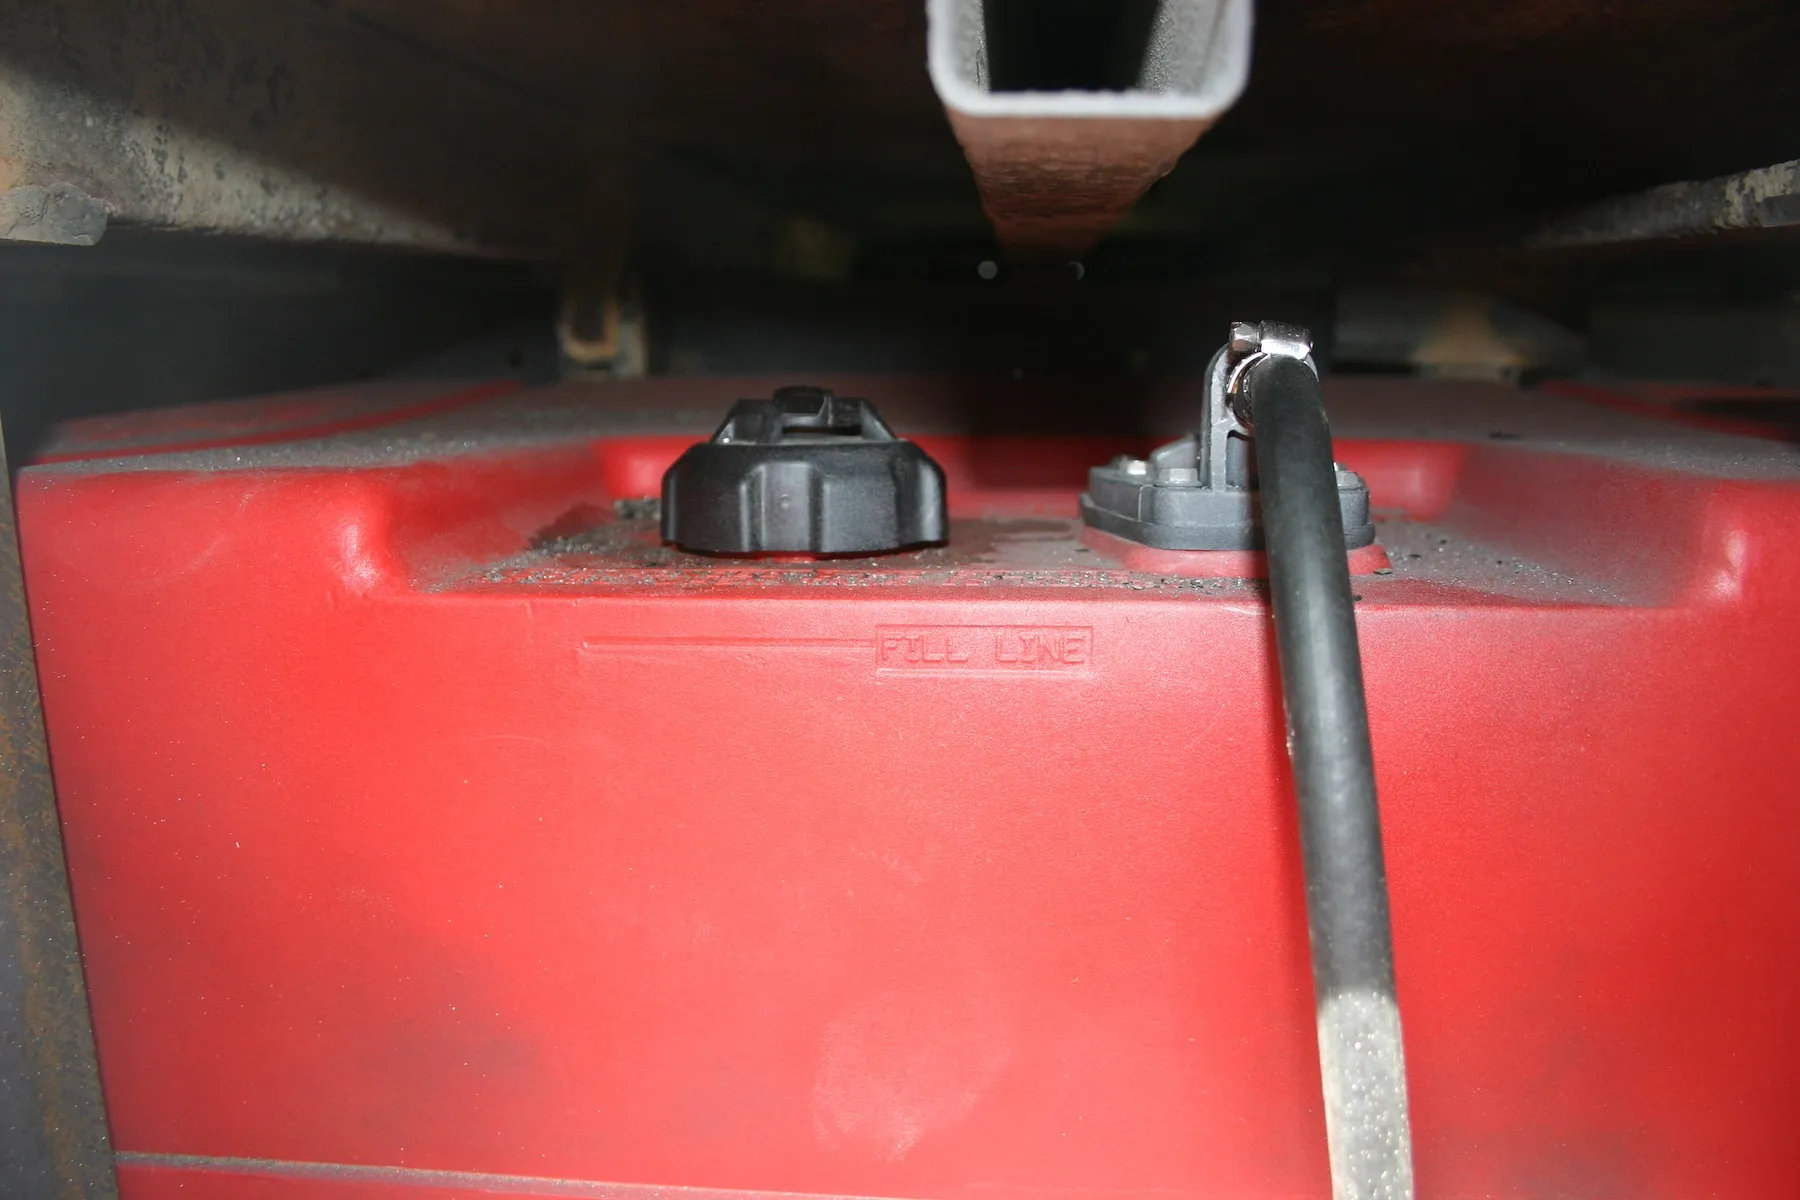
I wanted a large capacity tank for the generator so that I can dry camp and still use the AC, Microwave and get DirecTV. I used a 27 gallon outboard motor tank. This thing works like a charm and holds enough to dry camp for 2 days running the AC the entire time. That is what I call camping.

The reason I had to make the gas door so huge is so that I can reach in with the gas filler and fill this tank. This is twice the size of most modern car gas tanks and it will take a while to fill at the gas station, so I didn't want to have to hold up a funnel or something like that.

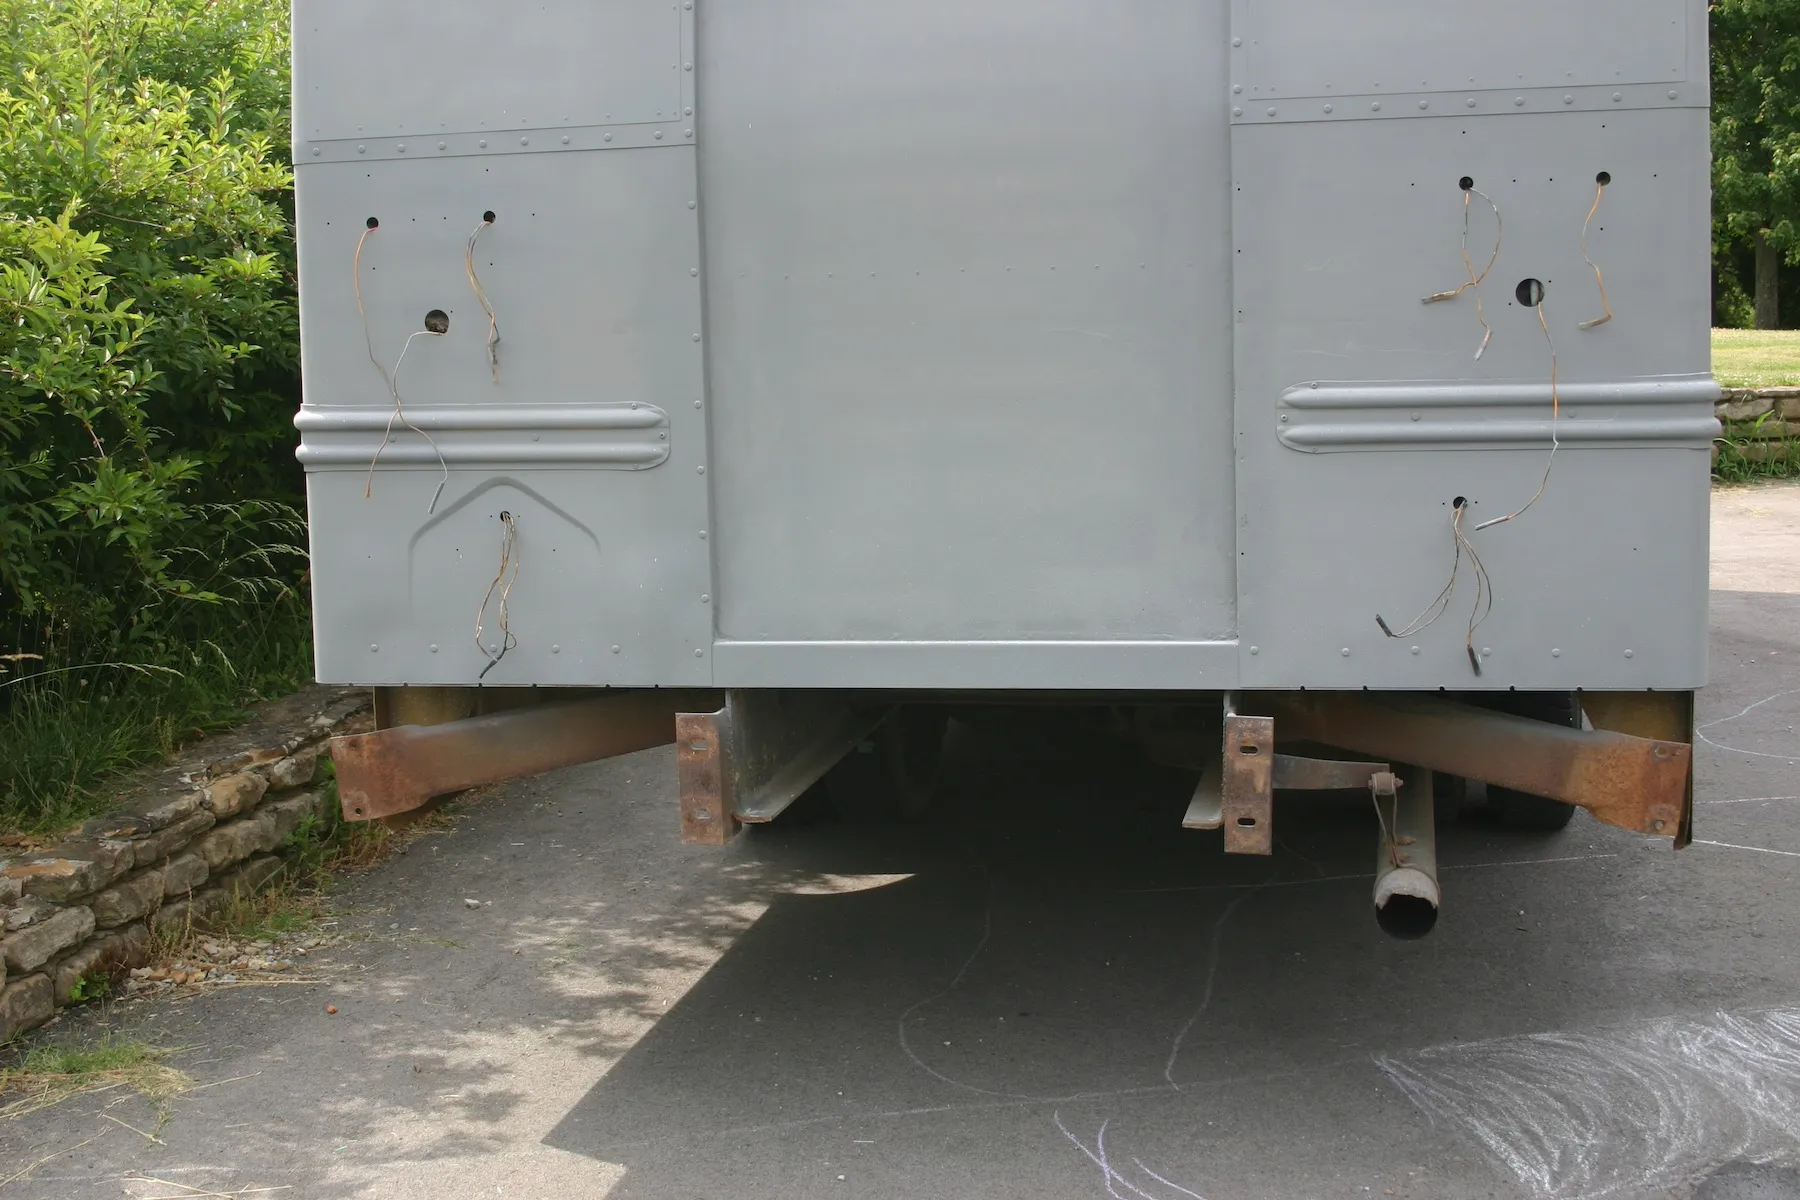
I took off the bumper to have easy access to install the battery bank and propane tanks. I have 4 deep cycle 6 volt golf cart batteries that I am going to wire series/parallel to get 12 volts with a long discharge time. I have a Xantrex 1200 watt inverter that should run everything but the ACs for quite a while without the generator. Note the sheet metal where the rear door went.

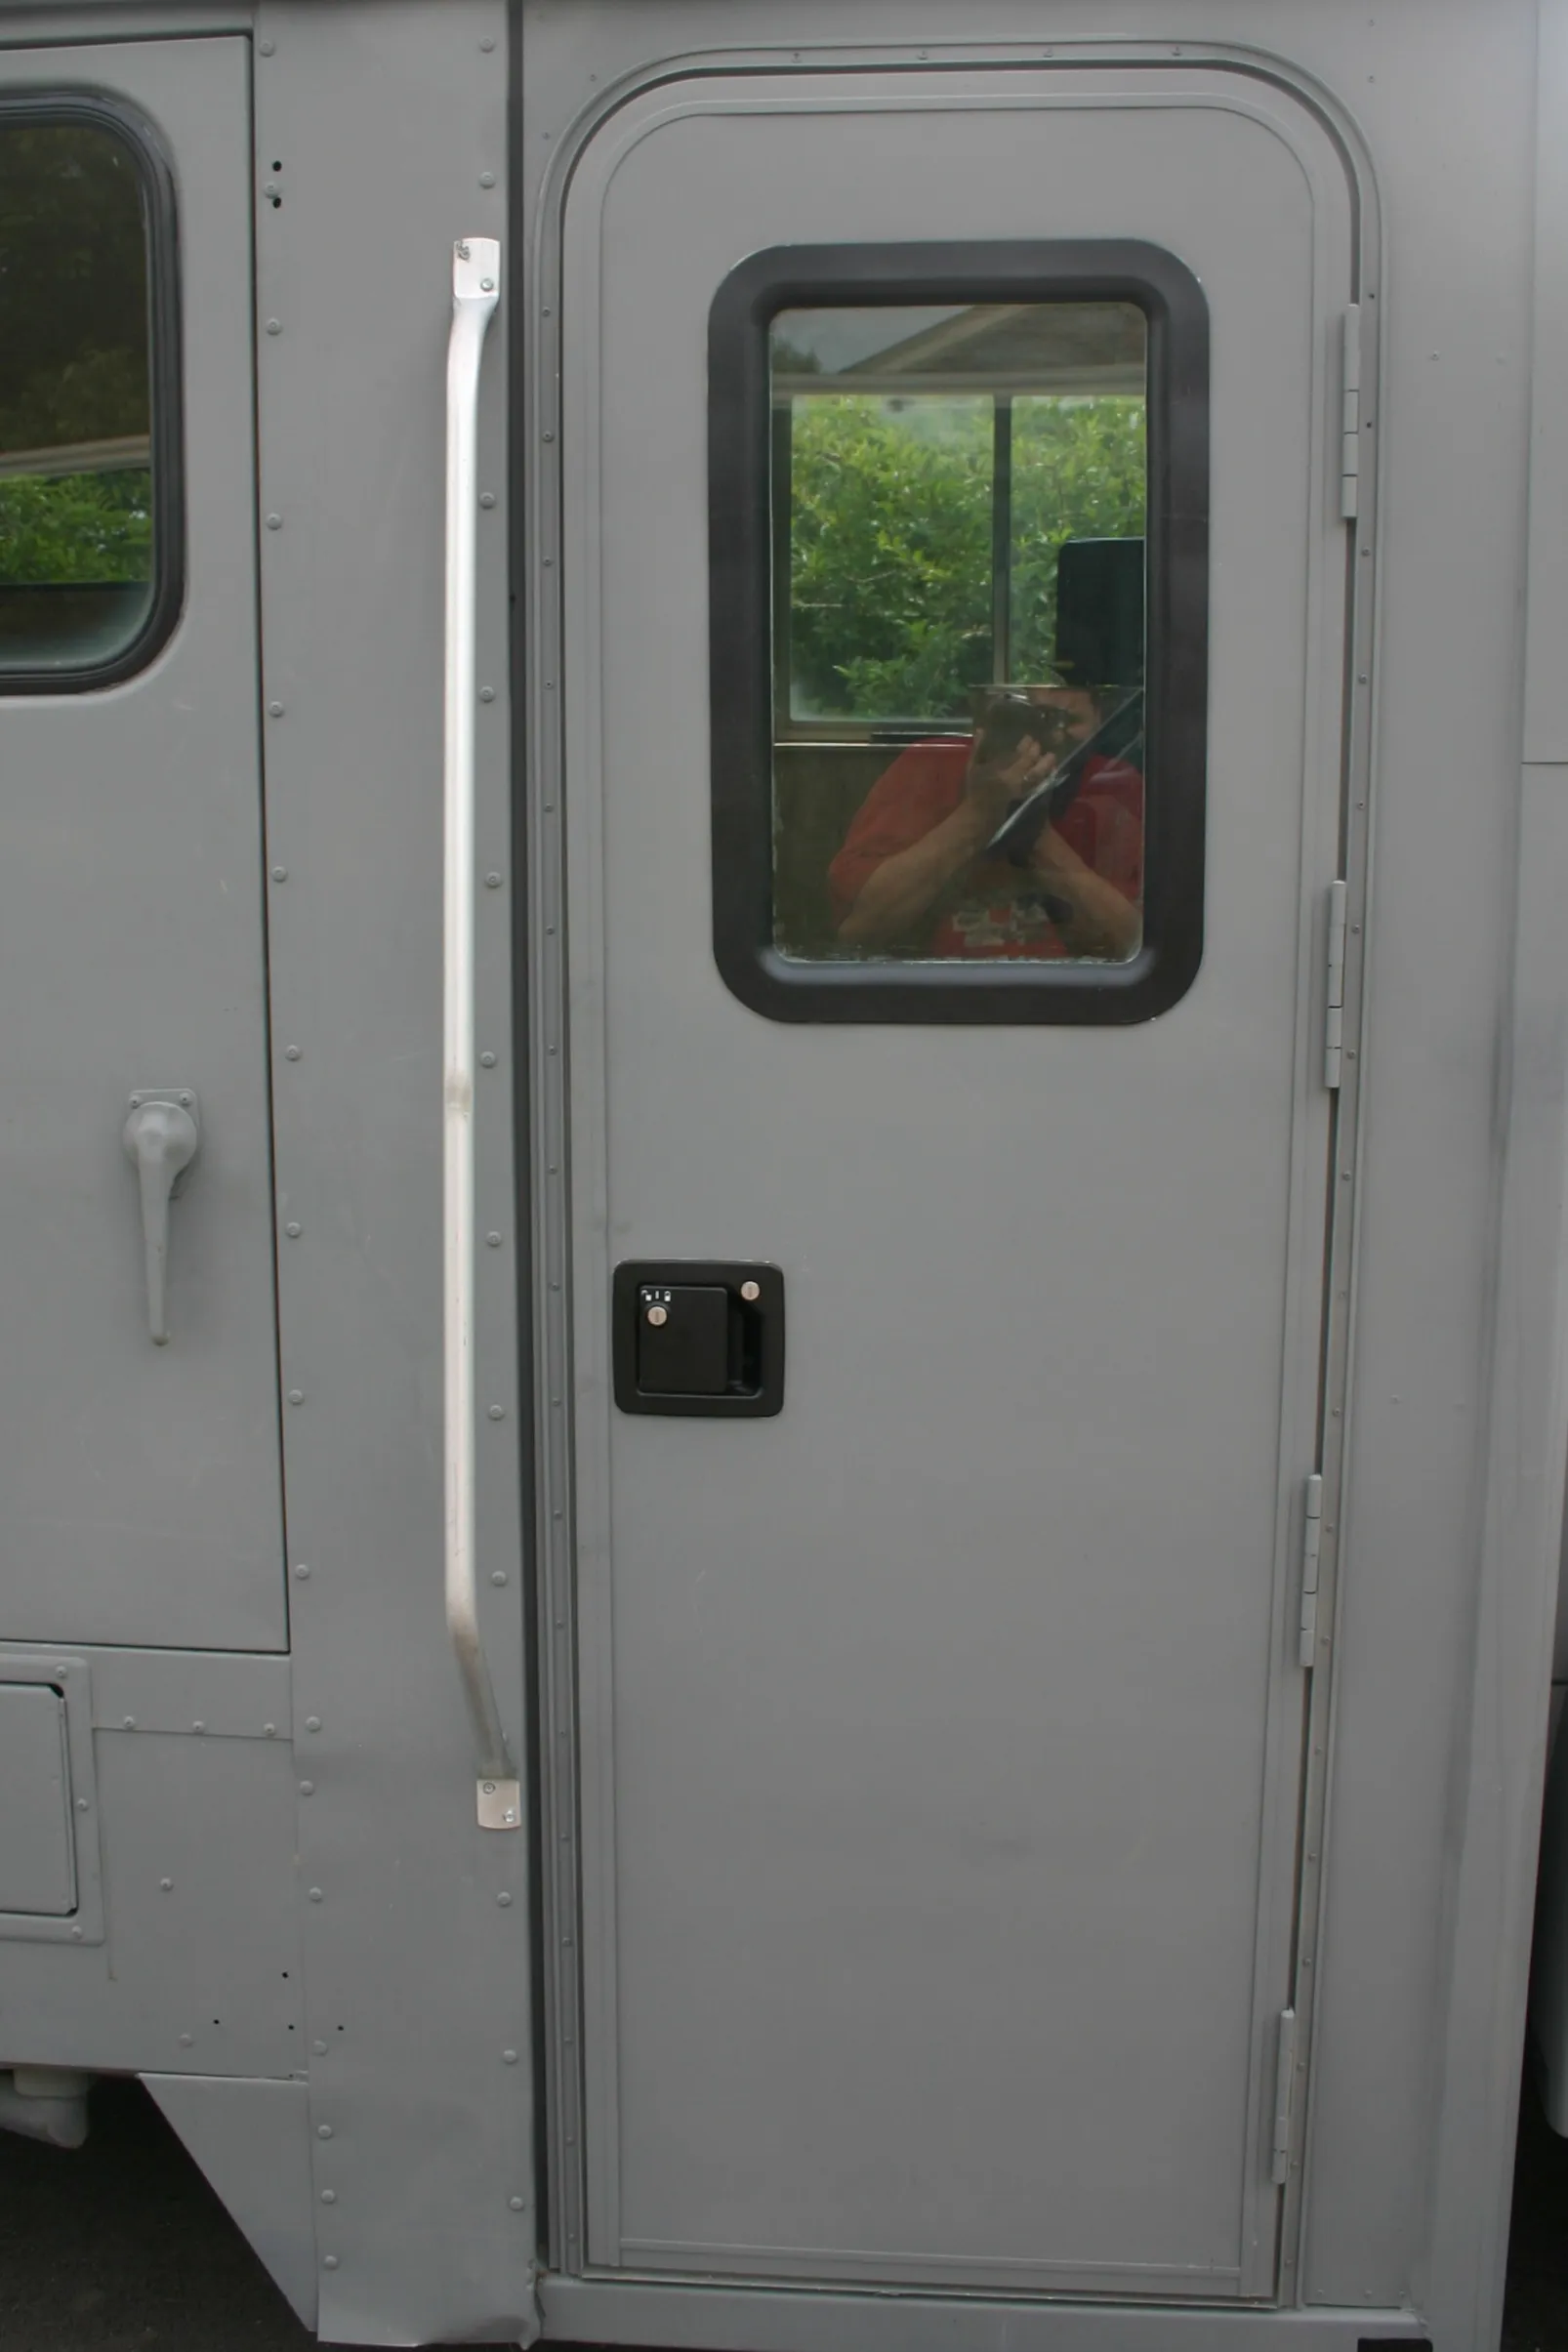
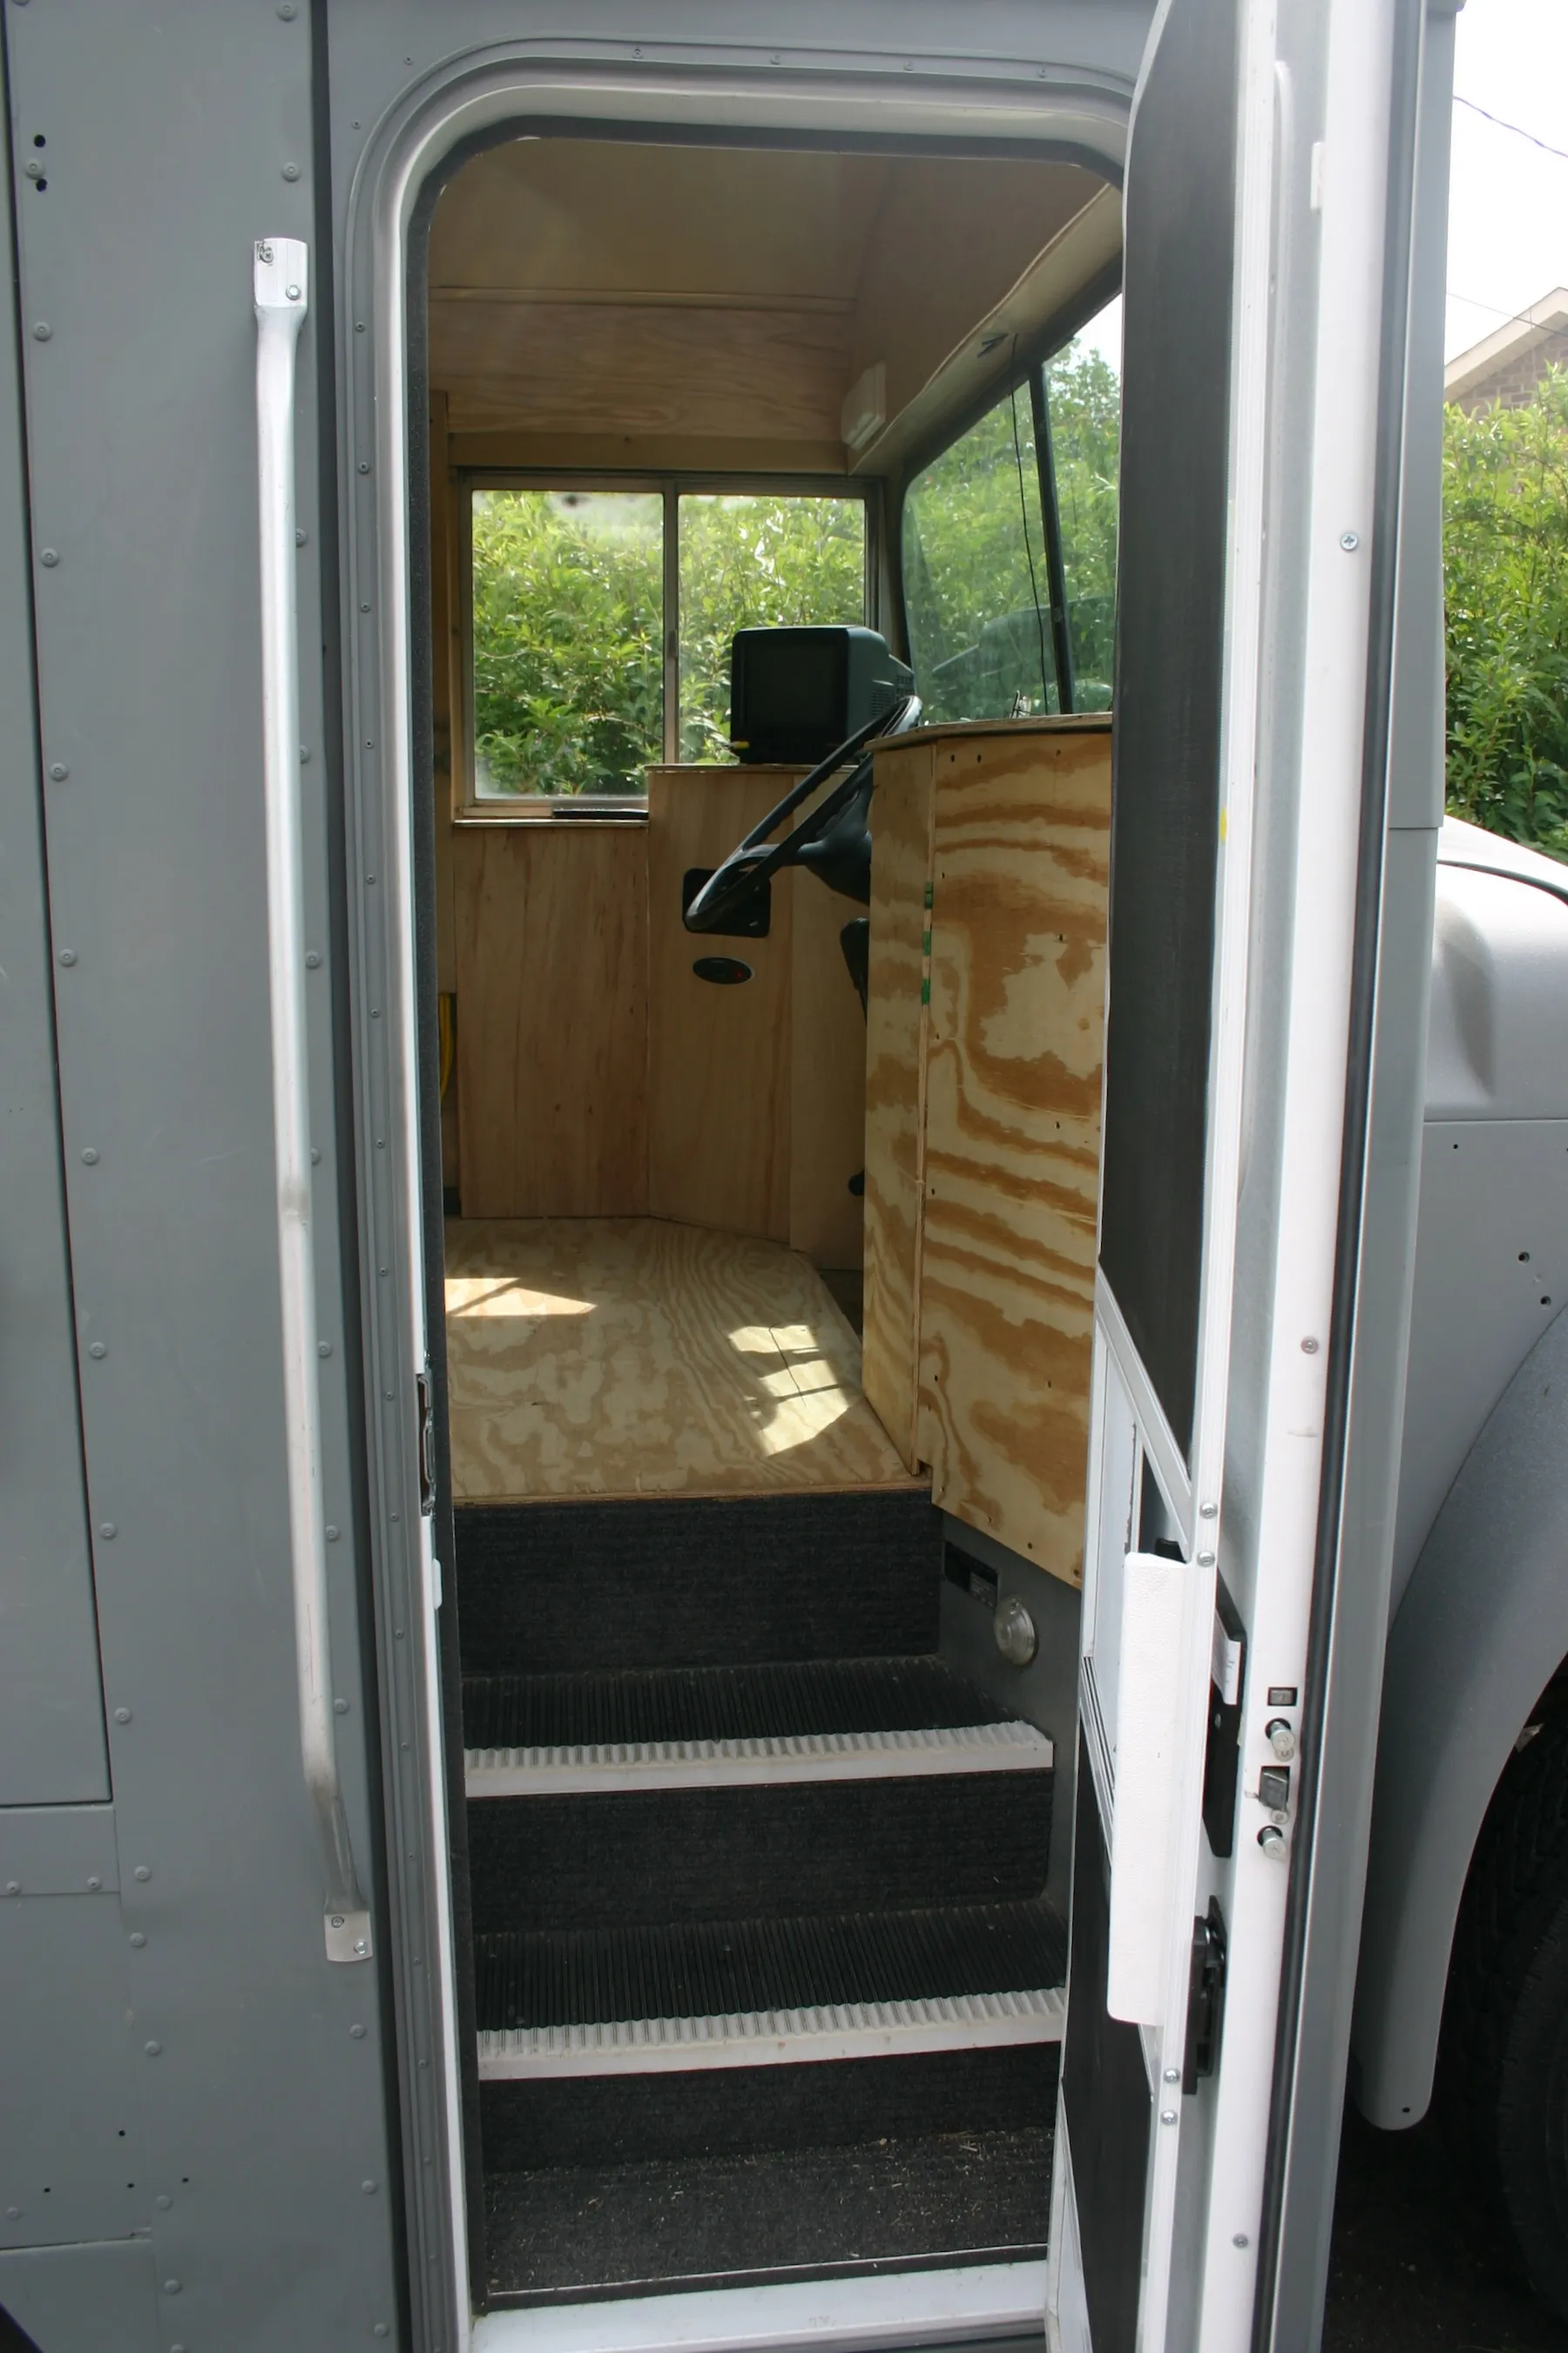
I got this door at an RV swap meet. $125. This thing lists for over $600 retail. It has a screen door, dual locks with a deadbolt and everything. I had to weld up a door frame with my trusty MIG machine and cut out the door opening in the sheet metal with some tin snips.

I removed the frosted glass that came in it and used one of the windows from the old door so I could see out the side when I was driving. Doesn't it look nice? I am glad I got rid of that old bus door. Several people told me to keep that old, loud leaky thing. It's a good thing I'm stubborn.

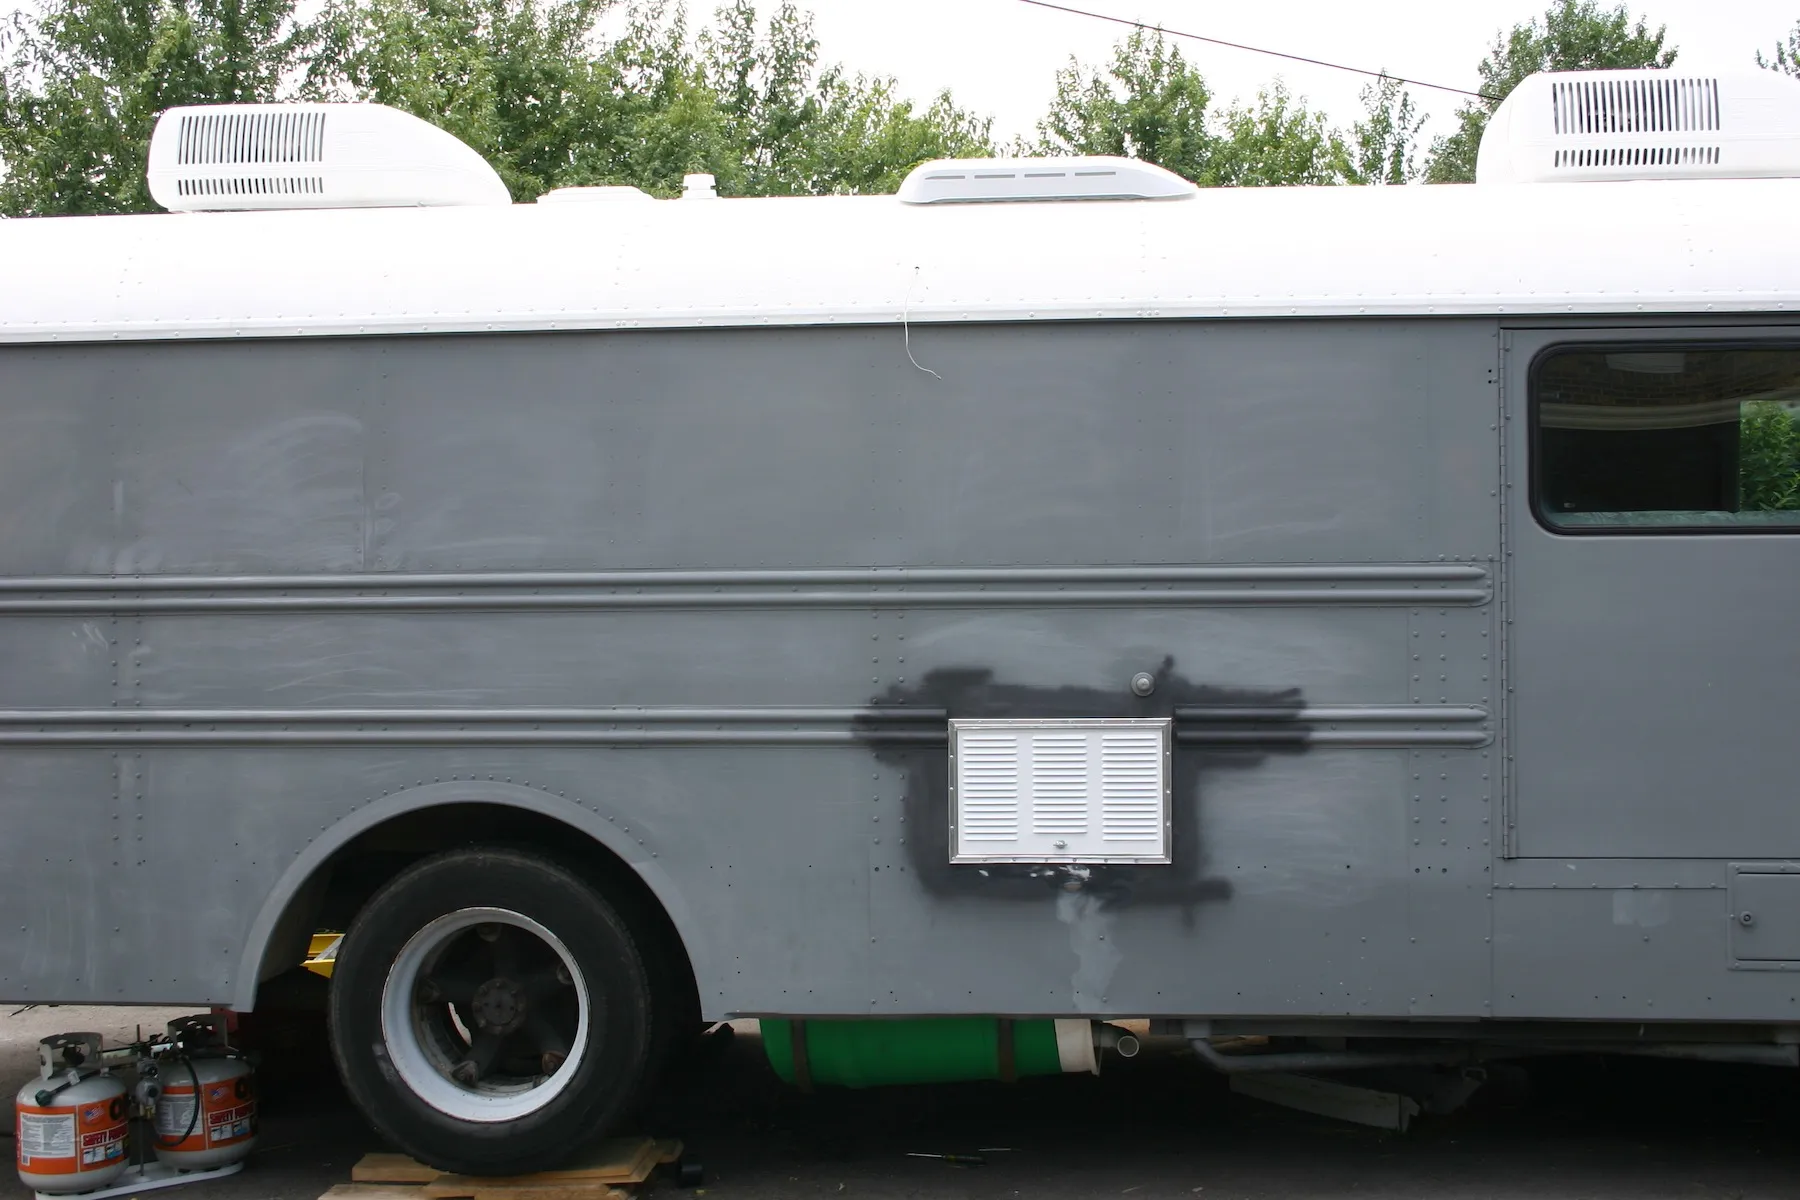
This is the side of the bus after adding the vents for the refrigerator and the black water tank. I didn't know that RV refrigerators needed a vent that intakes air at the bottom and outlets air at the top. Note the new roof wart for the top fridge vent.

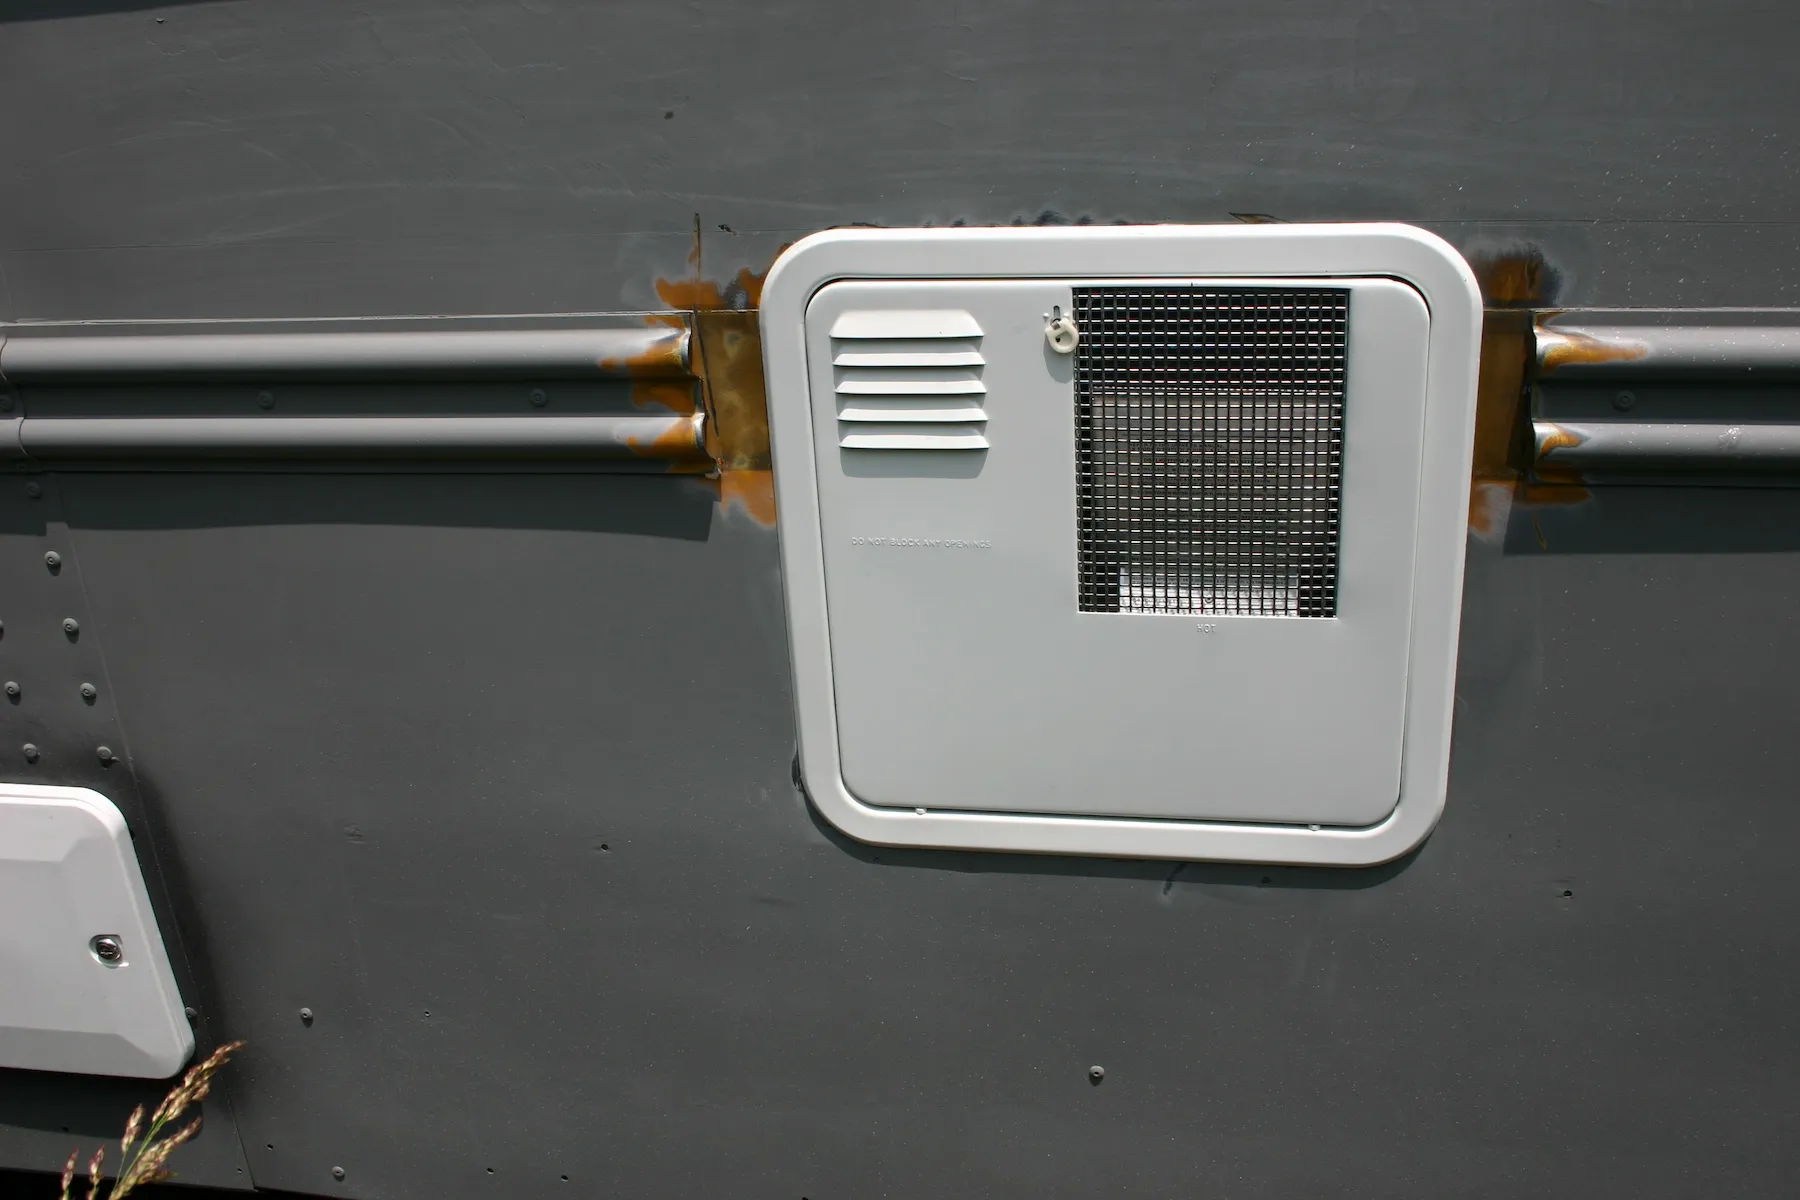
This is the hot water heater access door and vent. This was a pain to cut out and install because I had to go through the steel in the lower side wall, which is the same thickness as the floor. I also had to cut the radius corners, which is more difficult than just cutting a square.

The black water tank is secured with 0.25" X 1.5" steel bar that I bent into a strap and welded to brakets that I welded to the frame. Note the tank is one of those $8 55 gal drums I picked up. I had to cut a hole in the tank for the inlet. The outlet and vent are the standard bung holes. Until I was educated on the proper terminology for 55 gal drums, I didn't know that the 2 holes in the top are called bung holes or bungs. I was under the impression that a bung hole was a part of your anatomy. Beavis and Butthead fans will understand. It is kind of ironic that my black water tank has bung holes.

The front of the beast. I had to remove the old, rusty grille. I am trying to decide what to do with it. I want to chrome it and the front and rear bumpers, but chrome will cost almost as much as the rest of the bus combined. Okay not that much, but, a lot. The hood is the only part of the bus that is fiberglass. I had to patch a bunch of holes that were left after removing the mirrors and stuff. It came out pretty nice with the primer on it. The front looks cool with the top nice and smooth without all of those lights.